Framing your embroidery transforms a simple DIY embroidery project into a polished piece of art. Proper framing not only protects your work but also enhances its aesthetic appeal, whether it’s a small floral pattern from a best embroidery kit
or a detailed design from a unique embroidery kit.
In this guide, we’ll cover how to frame embroidery in a hoop, how to frame embroidery without a hoop, and how to frame embroidery on canvas. You’ll also find tips, common mistakes to avoid, and creative display ideas to make your stitched creations shine.
Page Contents
Why Framing Embroidery Is Important?
Framing your embroidery serves multiple purposes:
Preservation – Protects threads and fabric from dust, dirt, and sunlight.
Aesthetic Appeal – Highlights patterns from beginner embroidery kits or intricate designs in embroidery kits for adults.
Functionality – Makes hanging, gifting, or displaying easy.
Professional Finish – Gives a polished, gallery-ready appearance.
Framing is an essential step that ensures your handiwork lasts for years and looks impressive in any setting.
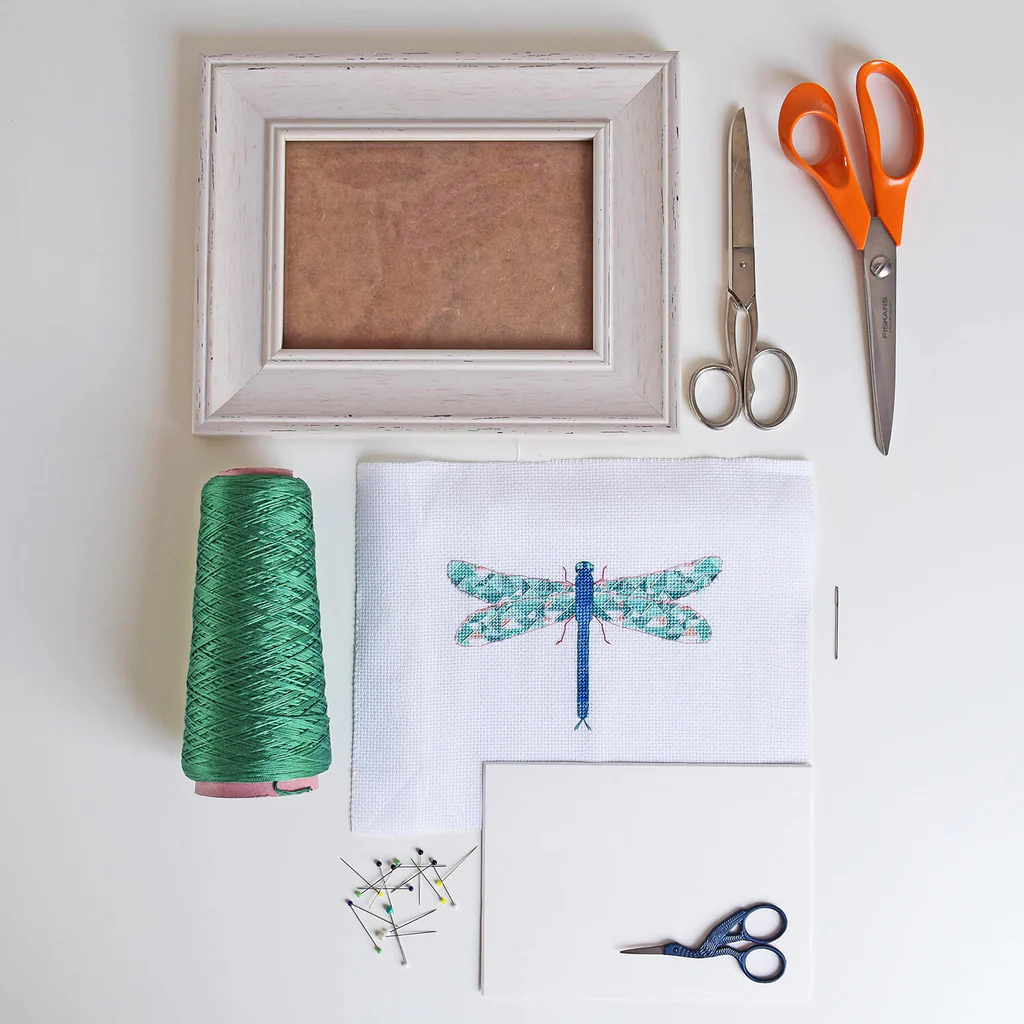
Essential Tools and Materials
Before starting, gather the necessary tools for framing:
- Embroidery hoops
- Stretching frames
- Acid-free backing boards
- Pins or tacks
- Mat board and frame
- Glue or fabric tape
- Iron
High-quality materials ensure your DIY embroidery kit or unique embroidery kit maintains shape, color, and texture over time.
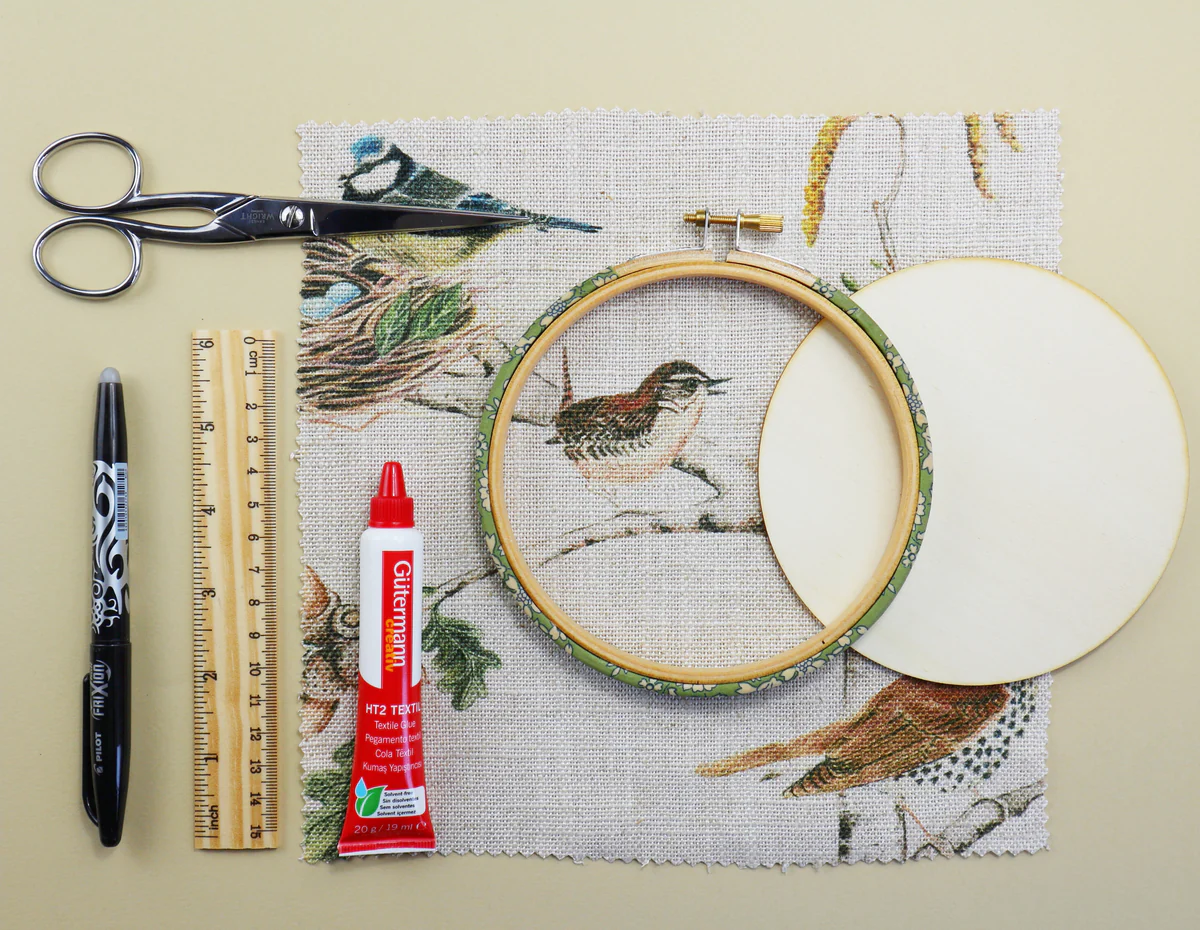
How to Frame Embroidery in a Hoop?
Framing embroidery in a hoop is popular, especially for beginner embroidery kits or projects with circular designs.
Step-by-Step Guide
Select the Hoop – Slightly larger than your design. Wooden hoops provide a rustic look, plastic hoops can be customized.
Prepare the Fabric – Wash and iron your embroidery to remove wrinkles. Center the design.
Position in the Hoop – Loosen the screw on the outer hoop, place the inner hoop under the fabric, align the design, then place the outer hoop on top and tighten the screw. Pull the fabric gently to remove slack.
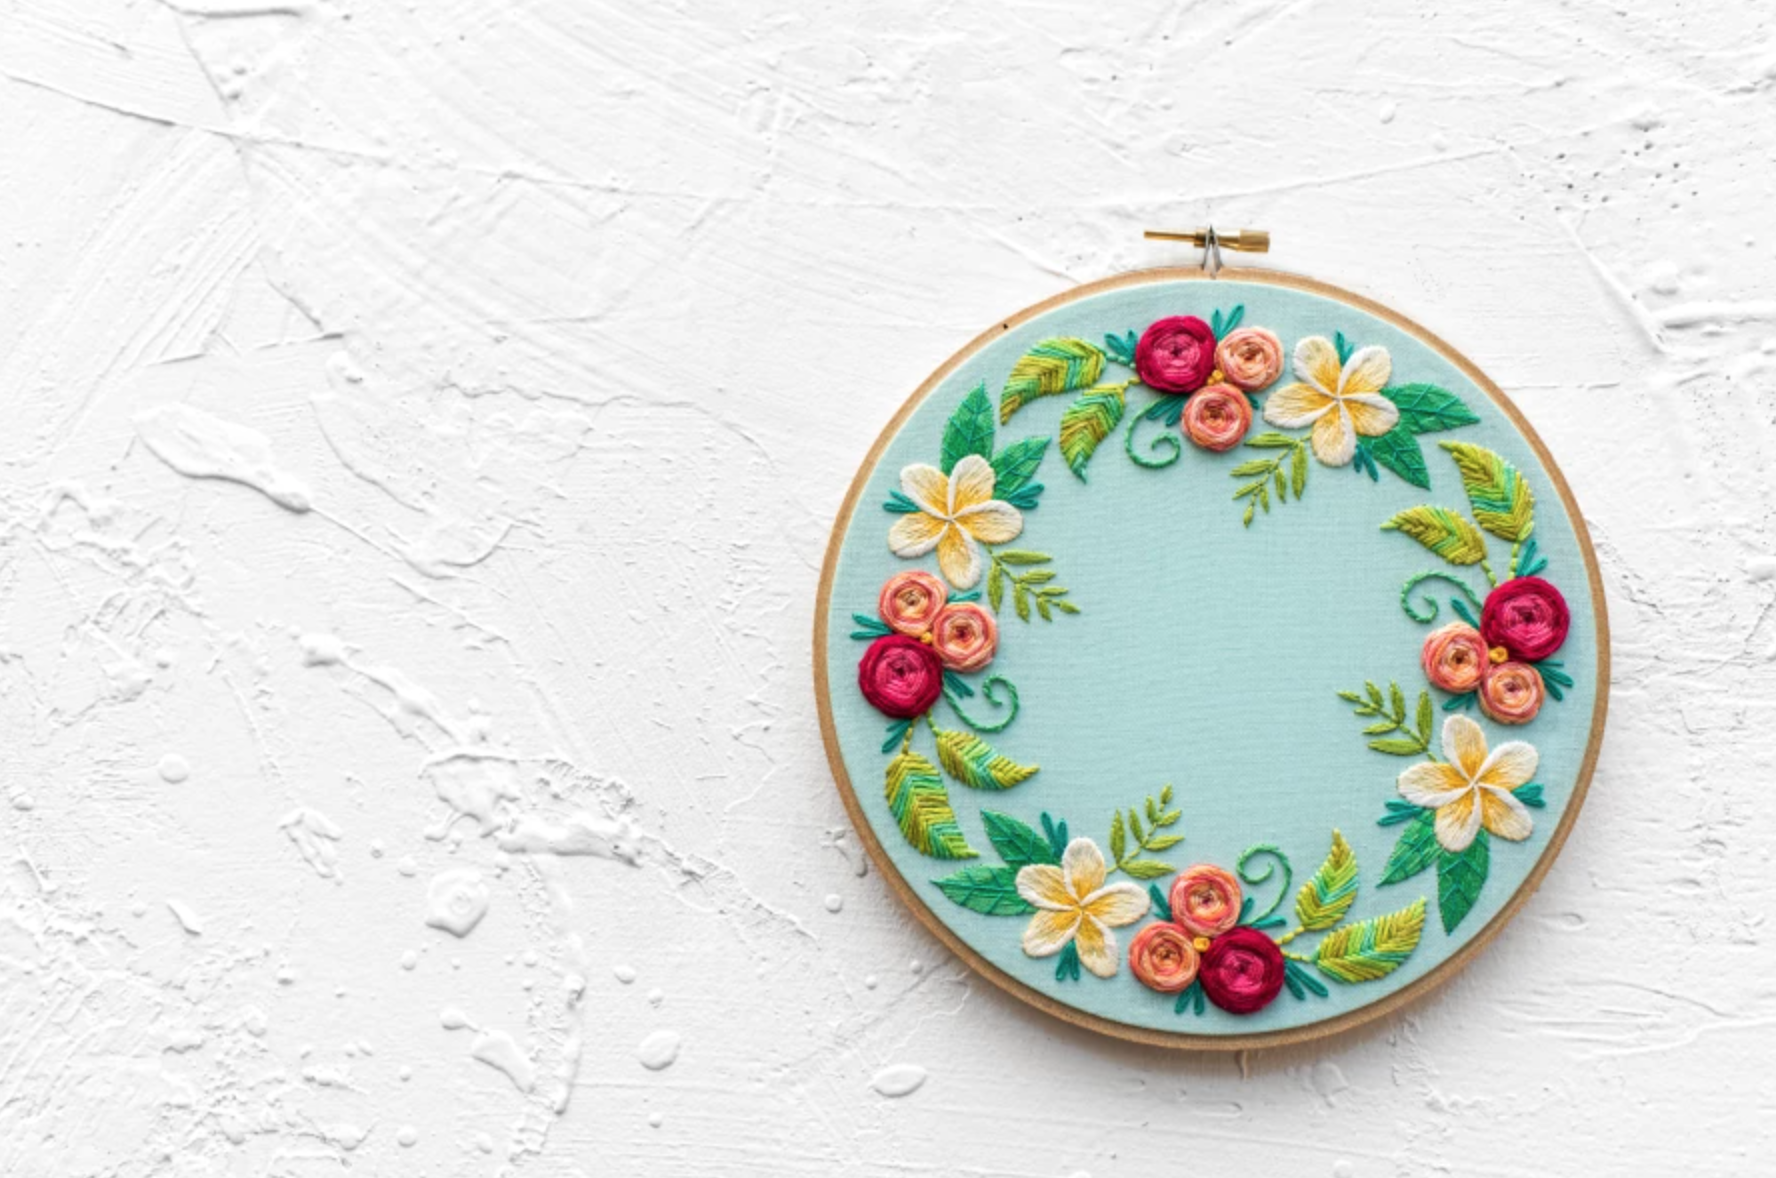
Trim Excess Fabric – Leave 1–2 inches and fold or trim neatly.
Secure the Back – Tape, sew, or attach felt to hide raw edges.
Optional Finishing – Paint the hoop, add ribbons, or hooks for hanging.
Tips: Avoid over-tightening; choose a hoop that complements your embroidery colors. Perfect for unique embroidery kits and small best embroidery kits.
How to Frame Embroidery Without a Hoop?
Traditional framing is ideal for best embroidery kits or projects intended as wall art.
Step-by-Step Guide
Prepare Fabric – Wash, iron, and dry completely.
Mount on a Backing Board – Use acid-free foam or cardboard, smooth out wrinkles.
Stretch the Fabric – Pull gently for even tension, secure edges with pins or tape.
Trim Excess – Leave 1-2 inches to fold behind the board.
Insert into Frame – Add mat board if desired for protection and enhanced presentation.
Secure Frame Backing – Use clips or tape to hold embroidery in place.
Tips: Avoid stretching too tightly; acid-free backing prevents yellowing. Works well for embroidery kits for adults, beginner embroidery kits, and unique embroidery kits.
How to Frame Embroidery on Canvas?
Framing on canvas gives a modern, gallery-ready finish, perfect for unique embroidery kits.
Step-by-Step Guide
Select Canvas – Choose a stretched canvas that fits your design.
Attach Embroidery – Center design; secure edges using pins, glue dots, fabric tape, or hand stitching.
Stretch Fabric – Ensure fabric is taut without overstretching.
Finish Edges – Fold fabric neatly around canvas edges; secure with staples or adhesive.
Optional Framing – Display canvas as-is or add a shadow box frame for extra depth.
Tips: Avoid gluing threads directly; choose canvas thickness based on design size. Ideal for best embroidery kits, embroidery kits for adults, and bold unique embroidery kits.
Additional Professional Framing Tips
Iron Before Framing – Remove wrinkles by ironing embroidery face-down on a soft cloth.
Consider Glass – Protects embroidery but may flatten textured stitches; use UV-protective glass for sunlight exposure.
Matting – Acid-free mats protect fabric and enhance presentation.
Maintain Even Tension – Avoid sagging by stretching fabric uniformly.
Clean Regularly – Dust occasionally; avoid harsh chemicals.
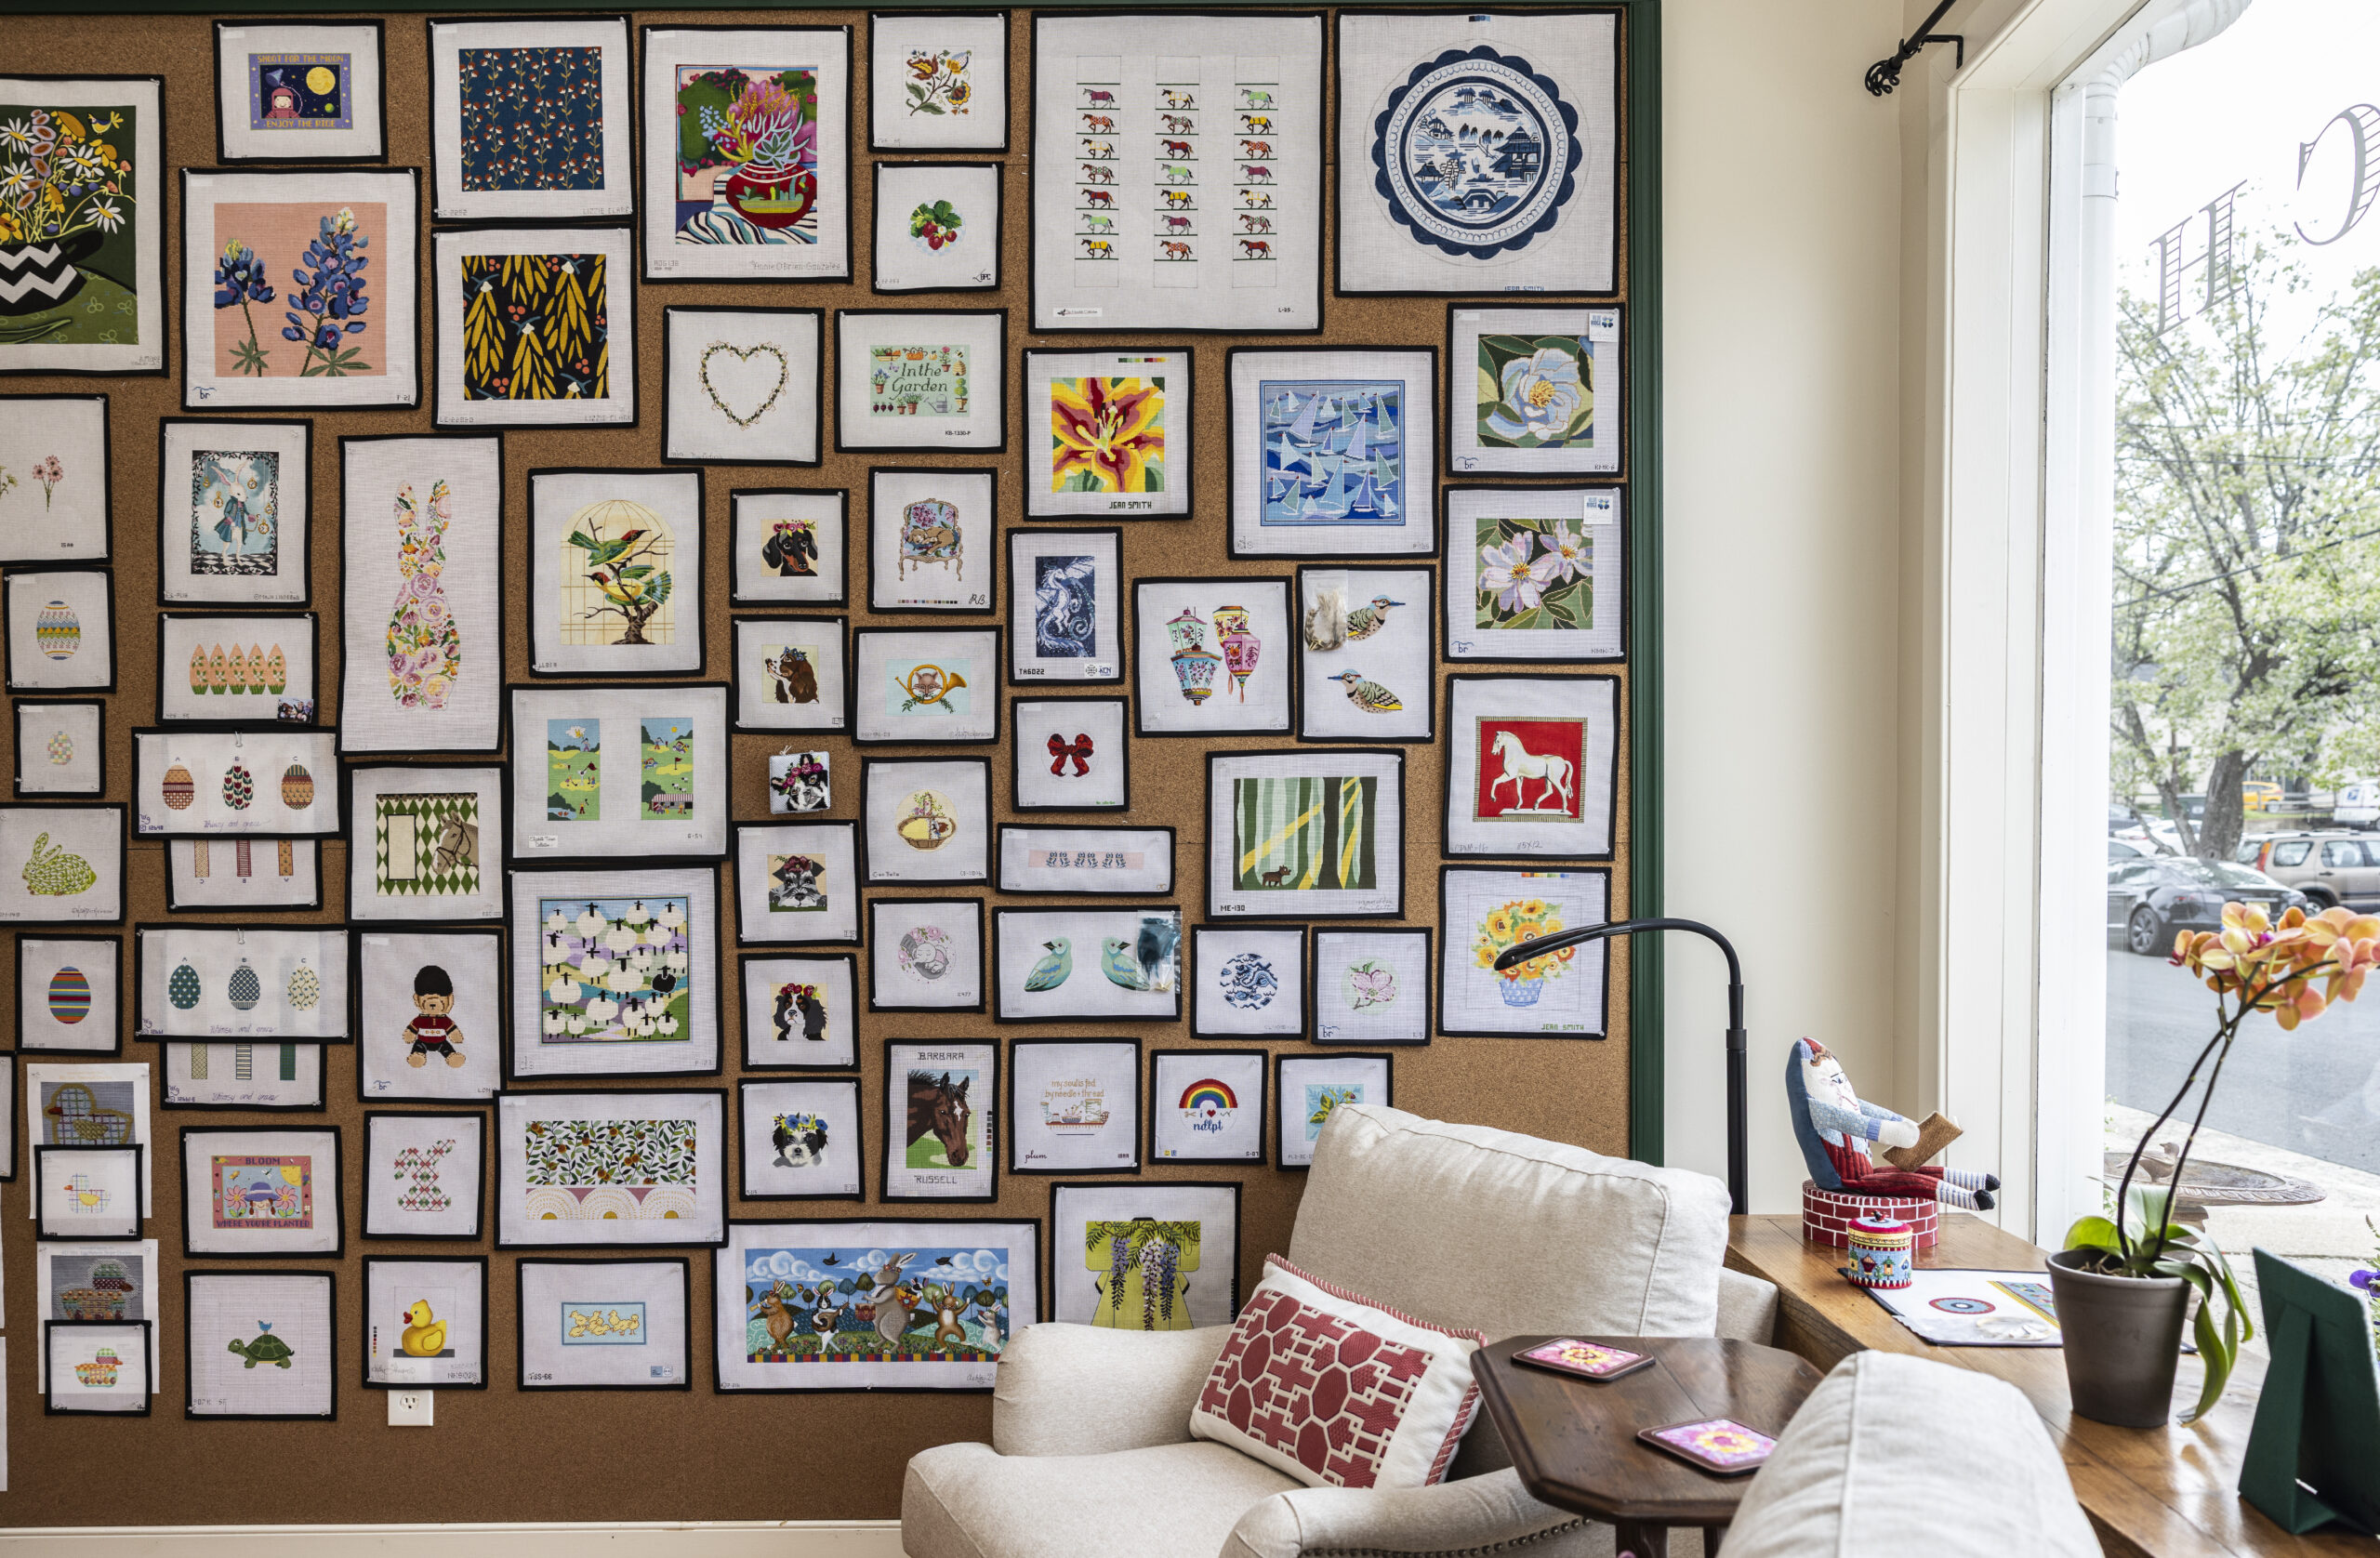
Creative Display Ideas
Gallery Wall – Mix framed unique embroidery kits with smaller best embroidery kits.
Gift Presentation – Frame beginner embroidery kits as thoughtful gifts.
Hoop Clusters – Display multiple embroidery kits for adults in various hoop sizes.
Shadow Boxes – Add dimension with 3D elements or layered fabrics.
Common Mistakes to Avoid
- Using non-acid-free backing that causes yellowing.
- Over-tightening hoops, distorting stitches.
- Skipping ironing, leaving wrinkles.
- Stretching unevenly, causing sagging.
- Using frames that are too small, cutting off designs.
Avoiding these mistakes ensures your DIY embroidery kit, whether a unique embroidery kit or a best embroidery kit, looks professional and polished.
Conclusion
Framing embroidery is an art that enhances, protects, and showcases your craftsmanship. Whether you frame in a hoop, without a hoop, or on canvas, proper materials and techniques ensure your best embroidery kits, embroidery kits for adults, beginner embroidery kits, and unique embroidery kits are displayed beautifully.
A well-framed embroidery project not only preserves your work but also elevates it, turning your stitching into lasting home decor, a meaningful gift, or gallery-quality art.