
Basic Embroidery Stitches: Types & Uses for Beginners
Embroidery is one of the oldest and most creative forms of needlework, connecting generations through the art of thread and fabric. Whether you’re stitching for relaxation, decorating your home, or creating handmade gifts, understanding embroidery stitches is essential to crafting beautiful and durable designs.
This overview introduces 15 hand embroidery stitches, their common uses and ways to practice them. Use the linked tutorials for more detailed instructions on individual stitches.
What Are Embroidery Stitches?

Embroidery stitches are the techniques used to sew thread onto fabric to create decorative designs, text, or patterns. Each stitch type serves a purpose – some are perfect for outlines, others for filling shapes, and some add texture or intricate detail.
From simple beginner stitches like the running stitch to more artistic stitches like the French knot, practicing the basics gives you a starting point for trying different patterns and techniques.
Why Learning Embroidery Stitches Matters
Many beginners underestimate the importance of learning stitch structure. Practicing stitch structure can help you work toward:
- Clean, even results that look professional
- Faster progress with fewer mistakes
- Secure stitches, with suitable thread and finishing
- Confidence to take on more complex designs
Even when using pre-designed embroidery kits, having a grasp of basic embroidery stitches helps you personalize each piece with precision and creativity.
Essential Tools for Practicing Embroidery Stitches
Before you begin, make sure you have the right materials. Quality tools make a significant difference in the final outcome.
You’ll need:
Embroidery hoop or frame – supports the fabric for stitches that need tension; some projects can be worked in hand
Embroidery needle – choose sizes based on thread and fabric thickness
Embroidery floss – colorful threads, typically 6-stranded cotton
Aida or linen fabric – ideal for beginners
Small scissors – for precise thread trimming
Embroidery kit – a great option for guided projects and ready-to-use materials
The catalog at the embroidery kits includes categories for embroidery kits for beginners and embroidery kits for adults. Check each listing for its contents, instructions and intended skill level.
Section 1: Basic Embroidery Stitches Every Beginner Should Know
If you’re new to embroidery, these basic embroidery stitches are the perfect place to start. They’re simple, versatile, and form the foundation of most designs.
1. Running Stitch
The running stitch is the simplest and most commonly used stitch. It’s perfect for outlining, creating borders, or adding simple texture.
How to do it: Pass the needle up and down through the fabric, keeping even spaces between stitches. Adjust the length depending on your design.
2. Backstitch
The backstitch is used for outlining shapes or adding text. It creates a solid line that’s smooth and continuous.
Pro tip: Keep your stitches short for curves and detailed outlines.
3. Split Stitch
The split stitch adds texture and strength to outlines. It’s similar to the backstitch but involves splitting the thread of the previous stitch.
Use it for: Lettering or outlining bold designs.
4. Stem Stitch
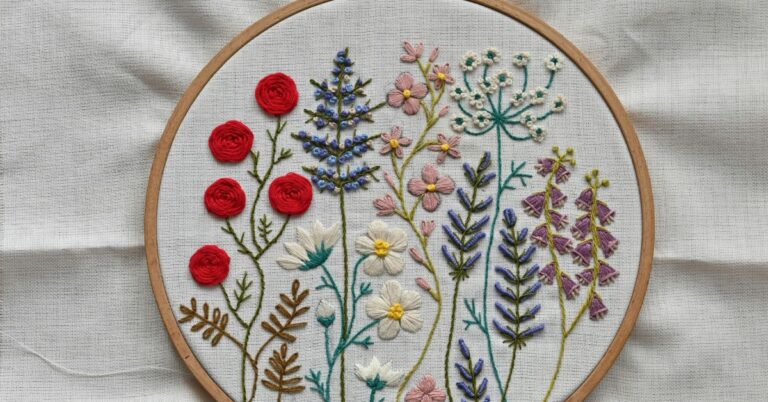
The stem stitch is often used for floral designs, vines, and curved lines. It creates a slightly twisted line that resembles a plant stem.
Best for: Natural and flowing outlines.
5. Satin Stitch
The satin stitch fills shapes with smooth, solid color.
Technique: Work closely packed stitches side by side until the area is completely covered.
Tip: Keep your stitches consistent in direction for a neat finish.
6. French Knot
A small, raised dot created by wrapping the thread around the needle before inserting it back into the fabric.
Use it for: Flower centers, eyes, or textured accents.
Follow our French knot tutorial for the wrapping, insertion and tension steps.
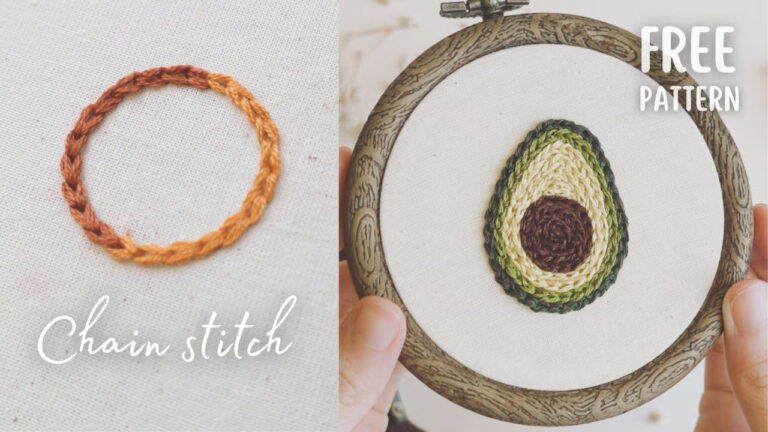
7. Chain Stitch
This stitch forms a linked chain pattern and is often used for outlines and decorative borders.
Variation: Try the detached chain (or lazy daisy stitch) for petal shapes.
Use our chain stitch tutorial to start the line, repeat the links and secure the final loop.
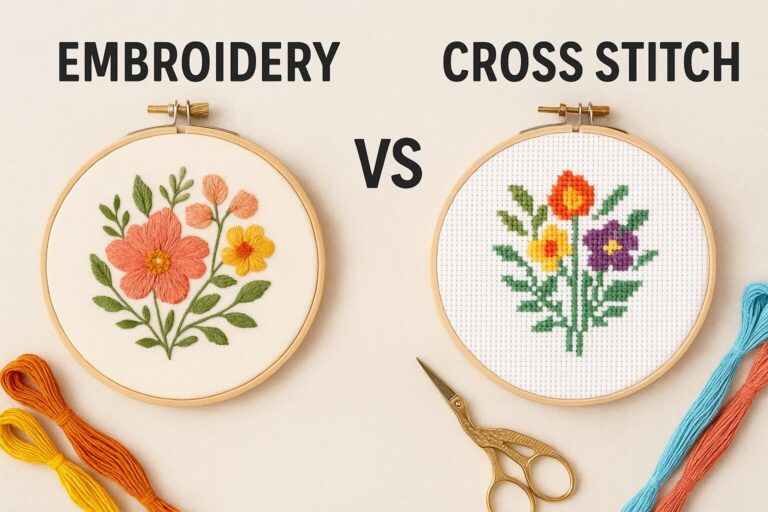
8. Cross Stitch
A popular hand embroidery stitch, especially in counted cross stitch kits.
Each “X” is made by crossing two diagonal stitches on a gridded fabric.
Perfect for: Beginners and geometric designs.
9. Blanket Stitch
This decorative edge stitch is often used to finish fabric edges or appliqué work. It’s also known as the buttonhole stitch.
Best for: Edging napkins, blankets, or felt projects.
10. Seed Stitch
Tiny, random stitches scattered across an area to create texture.
Great for: Filling backgrounds or adding depth to embroidery patterns.
Section 2: Intermediate and Advanced Hand Embroidery Stitches
Once you’re comfortable with the basics, explore more advanced hand embroidery stitches to elevate your projects.
1. Long and Short Stitch
Used for shading and blending colors, this stitch creates a gradient-like effect.
Tip: Start with alternating long and short stitches, then layer with colors for a realistic finish.
2. Bullion Knot
This coiled stitch creates texture and volume, perfect for roses or intricate borders.
Practice note: It takes patience, but the results are stunning.
3. Feather Stitch
A flowing stitch that resembles feathers or vines, commonly used for decorative borders.
Ideal for: Floral and nature-inspired embroidery.
4. Herringbone Stitch
Creates a crisscross pattern, adding a beautiful woven effect.
Use for: Borders, seams, or filler backgrounds.
5. Couching Stitch
Involves laying a thread on the fabric and tacking it down with small stitches.
Excellent for: Using metallic or thicker threads that don’t easily pass through fabric.
Section 3: Common Mistakes Beginners Make (and How to Fix Them)
Uneven Tension: Avoid pulling the thread too tight; let it lie naturally on the fabric.
Fabric Support: Use a suitable hoop or frame when the stitches need taut fabric. Some projects can be worked in hand; if the cloth puckers, check both support and thread tension.
Ignoring Thread Direction: Keep stitches consistent for clean results.
Not Finishing Properly: Secure the back neatly to prevent unraveling.
Wrong Needle or Fabric: Match your needle and fabric count to thread thickness for balance.
Section 4: Practicing and Perfecting Your Stitches
Practice is key. Start by stitching on scrap fabric or using beginner embroidery kits that include guided patterns.
Tips for improvement:
- Try 15-20 minutes daily instead of long sessions.
- Focus on one stitch at a time until you can do it evenly.
- Combine stitches creatively – for example, backstitch for outlines and satin stitch for filling.
Keep your hands and workspace clean to avoid staining fabric.
Section 5: Using Embroidery Stitches in Real Projects
Now that you know the main hand embroidery stitches, put them to use:

Wall art: Choose a display hoop or a suitable supported mount for the piece’s size, weight and condition.
Clothing: Personalize denim jackets, tote bags, or shirts.
Home decor: Embroidered pillows, napkins, and table runners.
Gifts: Handmade embroidery makes heartfelt, one-of-a-kind presents.
Section 6: Embroidery Kits – Guided Practice Options
When choosing a kit to practice specific stitches, compare its design, instructions and listed contents:

Best Embroidery Kits: Compare the design, instructions and listed materials against your project needs.
Embroidery Kits for Adults: Check the difficulty; an adult project is not necessarily advanced.
Embroidery Kits for Beginners: Look for clear instructions and stitches you want to practice.
Unique Embroidery Kits: Choose motifs and techniques that interest you.
Kit contents vary. Check whether fabric, threads, needles, a pattern, instructions and a hoop are included, and what extra tools you need.
Section 7: Caring for Your Embroidery Work
Care depends on the fabric, thread, dyes and embellishments. For old, stained or fragile pieces, seek advice from a textile conservator before cleaning. For a new project:
- Wash only if the fabric, thread and pattern care instructions allow it; use their specified method.
- If washing is suitable, avoid wringing or twisting.
- Press only if the materials permit it, using a suitable temperature and padding. Do not flatten raised stitches, beads or metallic details.
- Use a suitable display mount or supported storage, away from direct sunlight, heat and damp.
Conclusion
Practicing basic embroidery stitches gives you a starting point for exploring designs and textures. Choose one stitch at a time and try it on a small practice piece before using it in a larger project.
Choose a pattern or kit that matches the stitches you want to practice, and check its instructions and materials before starting.
One Comment