How to Chain Stitch Embroidery: Step-by-Step Guide
To make a chain stitch, leave a loop on the fabric, bring the needle up inside that loop a stitch-length ahead, then repeat to link the loops. Finish with a tiny holding stitch across the last loop. This hand-embroidery tutorial explains the start, repeat and finish, plus fixes for disappearing or uneven loops.
Chain stitch is useful for outlines, lettering and decorative fills. Practise a short straight line on spare fabric before following curves.
What is a Chain Stitch in Embroidery?

The chain stitch gets its name from its distinctive appearance – each stitch forms a small loop that links with the next, creating a chain-like pattern. It’s often used for outlining shapes, adding texture, or making decorative borders in embroidery projects.
Vary the look by adjusting the length of the links or working rows beside one another. Use a fabric, needle and thread combination appropriate for your project.
Materials you’ll need
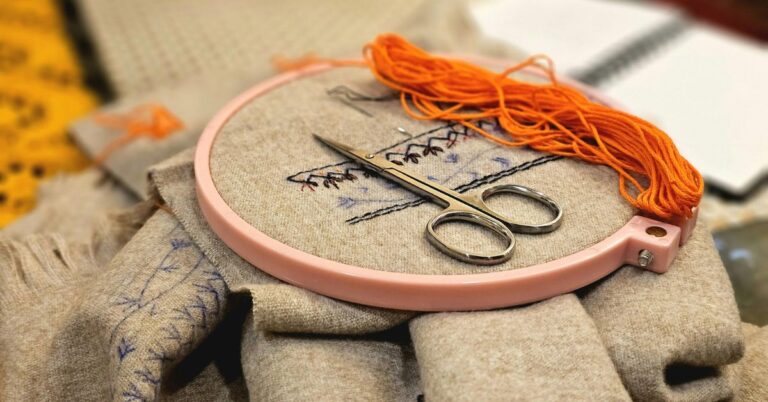
Before you start, gather these basic embroidery supplies:
- Embroidery hoop: Keeps your fabric taut for even stitching.
- Embroidery needle: Choose a needle with an eye large enough for your thread.
- Embroidery thread: Use thread and a strand count suited to your fabric and pattern.
- Fabric: Cotton or linen is ideal for beginners.
- Scissors: For cutting thread cleanly.
- Marking pen (optional): To outline your design on the fabric.
Step-by-Step Instructions for Chain Stitch Embroidery
Step 1: Prepare Your Fabric
Place your fabric in the embroidery hoop and tighten it so the surface stays firm and smooth. If you’re working with a design, lightly trace the outline using a fabric-safe pen or pencil.
Step 2: Thread the Needle
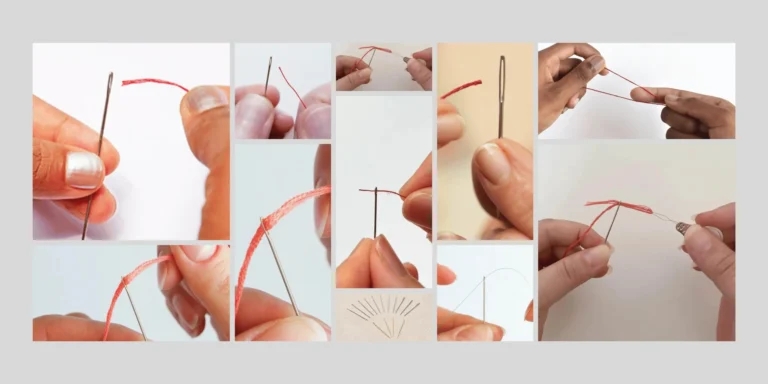
Cut a piece of embroidery floss around 18-24 inches long. Thread your needle and tie a small knot at the end of the strand to keep it from pulling through the fabric.
Step 3: Bring the Needle Up
Insert your needle from the back of the fabric to the front at your starting point. Pull the thread all the way through until the knot stops it.
Step 4: Create the First Loop
Insert the needle back into the same hole (or very close to it), but don’t pull the thread all the way through. Leave a small loop of thread on the surface of the fabric.
Step 5: Secure the Loop
Bring the needle up a short stitch-length ahead, inside the open loop. A 3 mm stitch is a useful practice size, not a fixed rule. Pull gently so the loop rests around the emerging thread without collapsing into a tight line. That is the first chain link.
Step 6: Continue the Chain
To make the next stitch, insert the needle back into the same hole where the previous stitch ended, again leaving a loop of thread on top. Bring the needle up slightly ahead along your outline, pulling through the loop each time to form a continuous chain.
Step 7: End the Chain Stitch
When you reach the end of your line or design, secure the final loop by making a small straight stitch over it. This keeps the chain from unraveling. The needle is now at the back. Secure the thread under nearby stitches without pulling the fabric out of shape.
Tips for even chain stitches
Maintain even tension: Don’t pull the thread too tight, or your loops will flatten. Keeping gentle, consistent tension gives the best results.
Use short lengths of thread: Long strands can tangle or fray easily. Working with shorter lengths helps maintain smooth stitching.
Keep spacing consistent: Try to make each chain link the same size for a neat and professional finish.
Practice curved lines: Chain stitch works great on curves. Start with light pencil guidelines until you get used to following the shape smoothly.
Chain-stitch variations
A single chain loop with its own holding stitch makes a detached chain stitch, often used for lazy-daisy petals. Open chain stitch makes a wider, squarer line of linked loops. Double chain stitch alternates loops from side to side across a band; it is not simply two separate rows of chain stitch. Each variation has its own stitch path.
Where to use chain stitch embroidery
Chain stitch is one of the most versatile embroidery techniques, perfect for both beginner projects and advanced designs. Here are some creative ways to use it:
- Outlining designs: Highlight shapes or patterns on your fabric.
- Lettering and text: Use it to embroider names, quotes, or monograms.
- Borders and frames: Add texture to the edges of tablecloths, napkins, or wall art.
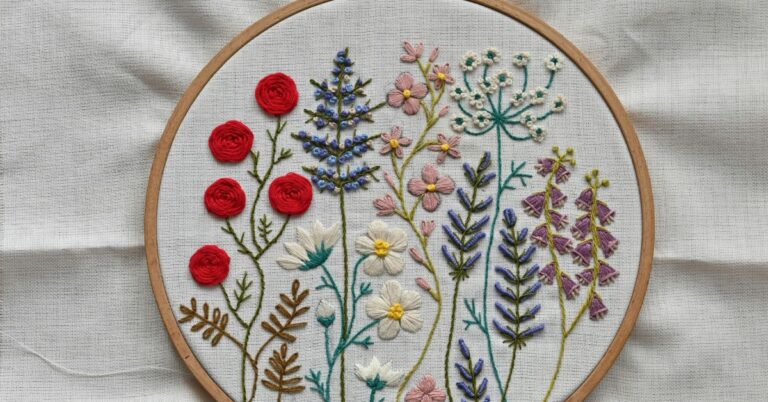
- Floral motifs: Combine with satin stitch or backstitch to create realistic flower patterns.
- Decorative accents: Add it to clothing, tote bags, pillowcases, or other home décor items.
For flower centers or small dotted details alongside chain-stitched outlines, follow our French knot tutorial.
Rows of chain stitch can also fill an area. Practise your spacing on a small sample before filling a larger shape.
Common chain-stitch problems and fixes
| Problem | What to check |
|---|---|
| The loop disappears | Keep the loop open until the needle comes up inside it; then take up the slack gently. |
| Links look uneven | Keep the stitch length and thread tension consistent. Mark a short practice line if helpful. |
| Thread twists or tangles | Pause to let the thread untwist and use a shorter working length. |
| Fabric puckers | Ease the thread tension and check the fabric support rather than tightening every link. |
| The final link opens | Add the small holding stitch across the last loop before securing the thread on the back. |
By practicing regularly, you’ll find that your chain stitches become smoother and more even with time.
Frequently asked questions
How do I start a chain stitch?
Secure the thread, bring the needle to the front, then return through the starting hole while leaving a loop. Bring the needle up ahead inside that loop.
How do I finish a chain stitch?
Take the needle down just beyond the last loop to make a small holding stitch over its end. Secure the thread on the back.
Can I chain stitch without a hoop?
Some projects can be worked in hand. If the fabric bunches or the stitch needs more support, choose a suitable hoop or frame. Compare our hoop alternatives.
Next steps
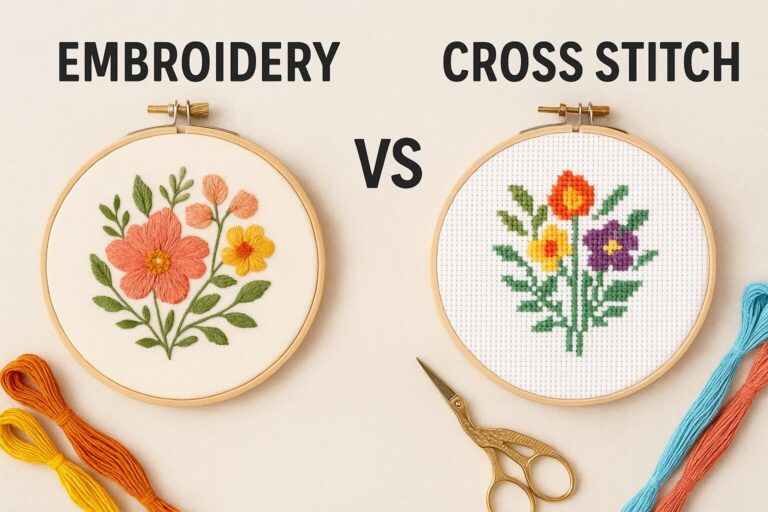
Compare surface embroidery and cross stitch if you are choosing a first technique. For a finished practice piece, read how to frame embroidery. You can also browse beginner embroidery kits; check the supplied instructions for which stitches each kit uses.
Stitch-path reference: Royal School of Needlework Stitch Bank: chain stitch.
Final thoughts
Learning how to chain stitch in embroidery is a great skill that opens the door to more creative projects. It’s easy to learn, versatile for different designs, and satisfying to complete. Once you master it, you can use it to make personalized gifts, decorate your clothing, or create beautiful handmade wall art.
So grab your hoop, thread your needle, and start stitching – one chain at a time.