
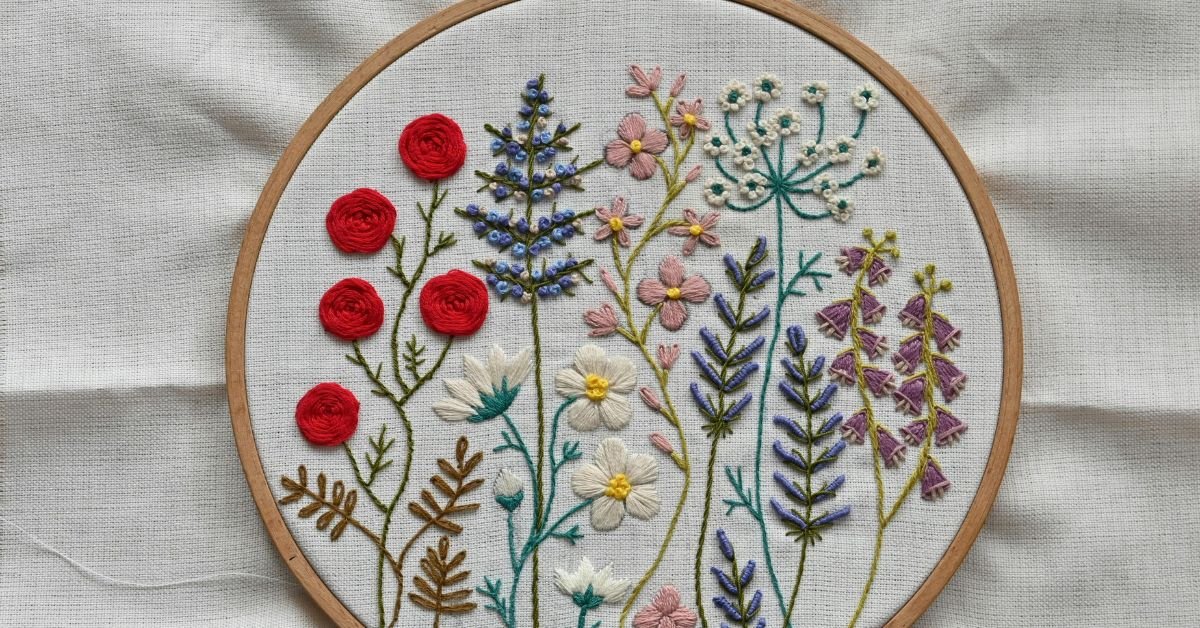
You finish an embroidery design, turn the fabric over, and notice something you definitely didn’t expect: wrinkles and ripples surrounding your beautiful stitching. The design itself may look fine, but the fabric has started pulling together and now looks puckered. If you’ve been wondering how to fix puckering in embroidery, you’re not alone.
Embroidery puckering is one of the most common problems faced by both beginners and experienced stitchers. It can happen on cotton, linen, denim, shirts, towels, and even delicate fabrics. Although thread tension sometimes contributes to the problem, puckering usually involves several factors working together.
The good news is that you can prevent and reduce most embroidery puckering by paying attention to stabilization, hooping, needle selection, thread tension, design density, and fabric preparation. Once you understand why the fabric puckers, choosing the right solution becomes much easier.
What Causes Puckering in Embroidery?
Embroidery puckering happens when the fabric becomes distorted as stitches are added. Every stitch places a small amount of tension on the material. When hundreds or thousands of stitches are concentrated in one area, that pulling force can cause the fabric to gather or wrinkle.
One of the biggest causes is insufficient stabilization. The stabilizer supports the fabric while the embroidery machine moves the needle rapidly through it. Without enough support, the fabric can shift or stretch instead of remaining stable.
Hooping can also make a significant difference. If the fabric isn’t held securely, it may move during stitching. However, stretching the fabric excessively tight inside the hoop isn’t the solution either. Fabric that has been stretched unnaturally can relax after embroidery and develop distortion around the design.
The embroidery design itself matters as well. Dense designs containing many closely packed stitches place considerably more stress on fabric than simple outlines or light fill patterns.
If you’re still developing your embroidery skills, learning basic stitch control can make a noticeable difference. Our guide to embroidery stitches and basic techniques explains how consistent stitching and thread control contribute to cleaner embroidery.
How Can You Tell If Your Embroidery Is Puckering?
Embroidery puckering is usually easy to recognize once you know what to look for. The fabric around the design may develop small wrinkles, ripples, or gathers. In some cases, the design itself may appear slightly distorted or pulled inward.
The problem can be subtle at first. You may notice that the fabric looks smooth while it is inside the hoop but becomes wrinkled when you remove it. This happens because the fabric can relax after being released from the hoop.
Another sign is that the embroidery feels unusually stiff or bulky compared with the surrounding fabric. Dense stitching can pull the material in different directions, especially when the stabilizer doesn’t provide enough support.
If you’re unsure whether you’re dealing with puckering or another embroidery problem, compare the fabric before and after stitching. This can help you determine whether the embroidery process itself is causing the distortion.
How Do You Fix Puckering in Embroidery?
The first step is to identify what is causing the fabric to move or distort. Simply reducing thread tension may help in some situations, but it won’t solve puckering caused by inadequate stabilizer or poor hooping.
Start by checking your stabilizer. The fabric needs enough support for the type of design you’re stitching. Lightweight or stretchy fabrics generally require more stabilization than firm woven materials. A dense design may also need stronger support than a simple embroidered outline.
Next, examine how you hoop the fabric. Place the material smoothly in the hoop and make sure it remains secure without stretching it excessively. The fabric should be supported rather than pulled unnaturally tight.
If puckering continues, consider the design density, needle, thread, and machine tension. Changing one factor at a time allows you to identify the actual cause instead of guessing.
Can the Wrong Stabilizer Cause Embroidery Puckering?
Yes. Stabilizer is one of the most important factors when trying to prevent embroidery puckering.
Its job is to support the fabric while stitches are being formed. Without adequate stabilization, the fabric can move with the needle and gradually become distorted as the embroidery builds.
The best stabilizer depends on the material you’re using. A stable woven fabric may work well with a cut-away, tear-away, or wash-away stabilizer depending on the project. Stretchy fabrics often benefit from stronger stabilization because they can easily move or deform during stitching.
Design density should also influence your choice. A heavily stitched design places more stress on the fabric, so it may require more support than a lightweight design.
If you’re working with an unfamiliar fabric, test your stabilizer combination on a scrap piece first. A small test can prevent an entire finished project from becoming damaged.
How Does Hooping Affect Embroidery Puckering?
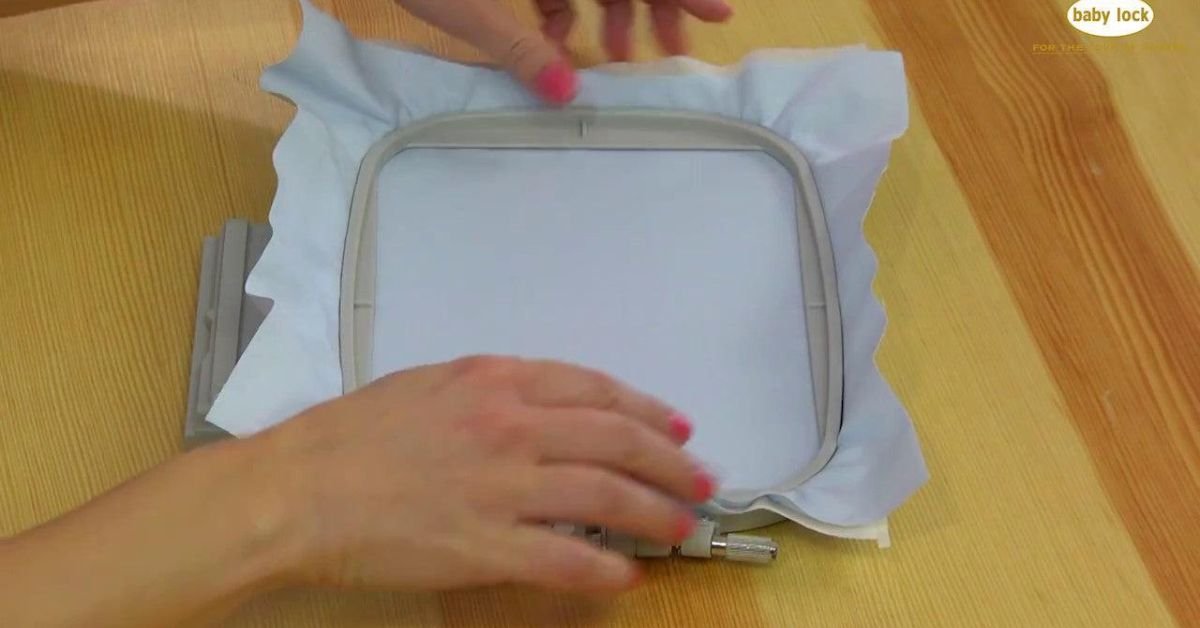
Hooping has a significant effect on the finished appearance of embroidery. The fabric needs to remain stable while the machine or your hand moves the needle through the design.
If the fabric is loose inside the hoop, it can shift as you stitch. That movement may cause uneven tension and distortion around the design.
However, tightening the hoop as much as possible isn’t necessarily the solution. Stretching fabric aggressively can distort its natural structure. Once the fabric is removed from the hoop, it may relax and leave wrinkles around the embroidery.
The goal is to hold the fabric securely while keeping it in a natural position. Our guide on what to use instead of an embroidery hoop also discusses frames and alternative methods for maintaining fabric stability during embroidery.
For projects that require a traditional hoop, choosing an appropriate size and maintaining even fabric tension can make stitching considerably easier.
Can Thread Tension Cause Puckering?
Thread tension can contribute to puckering, particularly when the upper thread is pulling the fabric too tightly. However, tension is only one possible cause.
If you’ve already confirmed that the stabilizer and hooping are correct, check the machine’s thread tension. Avoid making dramatic adjustments. A small change can have a noticeable effect on stitch formation.
It is also useful to run a test design before changing the settings on your final project. Use the same fabric, stabilizer, thread, needle, and embroidery design so that the test accurately represents the finished piece.
If reducing tension improves the puckering but creates loose or poorly formed stitches, the problem may not actually be tension. Look again at the stabilization and design density.
Why Does Dense Embroidery Pucker More?
Dense embroidery designs contain a large number of stitches concentrated within a relatively small area. Every additional stitch adds another point of tension to the fabric.
This becomes particularly noticeable with large fill areas, heavily stitched satin columns, and designs containing multiple overlapping layers. Lightweight fabrics may struggle to support this amount of stitching without some distortion.
If a simple design stitches beautifully but a dense design causes severe puckering, don’t immediately assume the machine is malfunctioning. The design’s stitch density may be the main factor.
Design density and pull compensation can also affect how the fabric responds to embroidery. Learn more about the causes of embroidery puckering before changing your machine settings.
Good embroidery digitization distributes stitches thoughtfully and avoids unnecessary stitch buildup. If you’re purchasing or downloading embroidery designs, look for files that are properly digitized for the fabric and machine you’re using.
Can the Needle Cause Embroidery Puckering?
The needle may not be the first thing you associate with puckering, but it can influence embroidery quality.
A needle that is too large can create unnecessarily large holes in delicate fabric. A dull or damaged needle can also interfere with smooth stitch formation, causing the thread to behave unpredictably.
Choose a needle appropriate for the fabric and embroidery thread you’re using. Lightweight fabrics generally require a different needle approach from thick denim or canvas.
If you’re troubleshooting puckering and haven’t changed the needle recently, installing a fresh needle is a simple step worth trying. A clean, sharp needle helps the machine form stitches more consistently.
How Do You Prevent Puckering on Shirts and Clothing?
Garments can be particularly challenging because clothing fabrics often move and stretch more than stable woven materials.
When embroidering a shirt, pay close attention to stabilization. The fabric needs enough support to prevent it from stretching as the design is stitched.
Placement also matters. If the embroidery sits on a highly flexible area of the garment, puckering may be more noticeable.
Before stitching the final garment, test the design on a similar piece of fabric. This lets you evaluate the stabilizer, needle, thread, and design density before committing to the finished item.
After embroidery, remove the stabilizer according to its instructions rather than pulling aggressively on the fabric. Gentle handling can help preserve the shape of the finished embroidery.
How Do You Fix Puckering on Lightweight Fabric?
Lightweight fabrics can be more vulnerable to puckering because they don’t naturally resist the pulling forces created by dense embroidery.
The first thing to consider is stabilization. A lightweight fabric may require stronger or more appropriate support than a heavier woven material.
Your embroidery design also matters. Large, dense designs can overwhelm delicate fabrics. If possible, choose designs that use a moderate stitch count and avoid excessive layers of stitching.
The needle should also match the fabric. A sharp, appropriately sized needle can help minimize unnecessary fabric damage.
Always test on a scrap piece before stitching the final project. Lightweight fabrics can behave very differently from heavier materials, so a test gives you an opportunity to adjust the setup safely.
What Is the Best Way to Prevent Embroidery Puckering?
Preventing puckering is much easier than trying to correct it after the embroidery is finished. Start with the right combination of fabric, stabilizer, needle, thread, and design. Make sure the fabric is properly hooped and supported without being stretched excessively.
Before beginning an important project, stitch a sample using the same materials and settings. Pay attention to how the fabric looks while it is still in the hoop and after you remove it.
If the sample puckers, don’t simply continue with the final project. Find the cause and make one adjustment at a time.
This simple habit can save considerable time and prevent wasted fabric.
Why Does Embroidery Pucker After Removing the Hoop?
Sometimes the embroidery looks perfectly smooth while it is inside the hoop but develops wrinkles immediately after you remove it. This usually indicates that the fabric was under tension during hooping or stitching and then relaxed afterward.
Excessive hoop tension can temporarily hold the fabric flat. Once the hoop is removed, the material may return toward its natural shape while the embroidery stitches remain fixed.
This is another reason why fabric shouldn’t be stretched aggressively during hooping. The goal is to support the fabric, not permanently distort it.
If this happens repeatedly, try a different hooping technique and reassess your stabilizer. Testing the project on scrap fabric can help you determine whether the issue comes from the fabric itself or the embroidery setup.
Can You Remove Puckering After Embroidery?
Minor puckering may improve with careful handling, but heavily distorted embroidery can be difficult to restore completely.
Once the design is finished, you can gently press the fabric according to its care requirements. Avoid placing excessive heat or pressure directly on delicate embroidery without checking how the fabric and thread respond.
If the puckering is caused by severe distortion or excessive stitch density, pressing alone won’t remove the underlying problem. The stitches have already changed the structure of the fabric.
For that reason, prevention is far more effective than correction. A properly stabilized and tested project is much easier to achieve than trying to repair heavily puckered embroidery afterward.
Frequently Asked Questions
Why does my embroidery keep puckering?
Embroidery can pucker because of inadequate stabilization, improper hooping, dense designs, excessive thread tension, unsuitable needles, or fabric movement. The exact cause depends on the materials and design you’re using.
Does more stabilizer prevent puckering?
More stabilizer isn’t automatically better. The goal is to use the appropriate type and amount of stabilization for the fabric and design. Too little support can allow movement, while an unsuitable stabilizer may create other problems.
Should I tighten my embroidery hoop more to stop puckering?
Not necessarily. The fabric should be secure, but excessive hooping tension can stretch the material and cause it to distort after the hoop is removed. Aim for stable, natural positioning rather than extreme tightness.
Can embroidery tension be too tight?
Yes. Excessive thread tension can pull the fabric and contribute to puckering. However, reducing tension isn’t always the correct solution because puckering can also come from stabilizer, hooping, needle, fabric, or design problems.
Why does my embroidery pucker after washing?
Washing can reveal puckering that wasn’t obvious immediately after stitching. Fabric can shrink or relax while the embroidery thread remains relatively stable, causing the surrounding material to gather. Following the fabric and stabilizer manufacturer’s care instructions can help minimize this effect.
Does design density affect puckering?
Yes. Dense embroidery places more stitches into a smaller area, increasing the amount of stress placed on the fabric. Highly detailed designs may therefore require stronger stabilization and careful testing.
Can puckering be completely removed?
Minor puckering may improve with careful pressing and proper finishing, but severe puckering may not be completely reversible. If the design has significantly distorted the fabric, preventing the problem during stitching is usually more effective than trying to repair it afterward.
Final Thoughts
Understanding how to fix puckering in embroidery is really about understanding what happens to fabric when hundreds or thousands of stitches are added to it.
The stabilizer supports the fabric, the hoop keeps it positioned, the needle carries the thread through the material, and the embroidery design determines how much stitching stress the fabric must handle. Thread tension is only one part of that system.
When puckering appears, resist the temptation to immediately adjust the tension. Check your stabilization and hooping first, then consider the design density, needle, thread, and machine settings.
Most importantly, make a test stitch before committing to an important project. A few minutes spent testing the right combination of materials can save hours of frustration and help you achieve smoother, flatter, more professional-looking embroidery.