How to Frame Embroidery – Techniques, Tips, and Ideas
To frame embroidery, choose the display method first, support the fabric evenly and leave room for the stitches. A hoop makes a simple decorative display; a picture frame needs a suitable mount; a deep frame or shadow box gives raised work more clearance.
This guide covers hoop finishing and mounting finished embroidery without a hoop. Choose the method for the piece’s size, weight and condition before trimming any fabric.
Choose a framing method
| Method | Useful for | Main consideration |
|---|---|---|
| Display hoop | A small contemporary design with room around its edges | An open hoop leaves the work exposed to dust and handling |
| Picture frame | A flat piece on a suitable support | Allow depth for the mount, stitches and any glazing |
| Deep frame or shadow box | Raised stitching and dimensional details | Measure the highest point before choosing frame depth |
| Canvas-style display | A decorative contemporary project planned for a wrapped support | Check the mounting method before buying a generic artist’s canvas |
Check the piece and gather materials
Keep enough unstitched fabric for the selected finish. Measure the design, surrounding margin and any raised details. Cleaning or pressing depends on the fibres, dyes and embellishments; do not automatically wash and iron every finished piece.
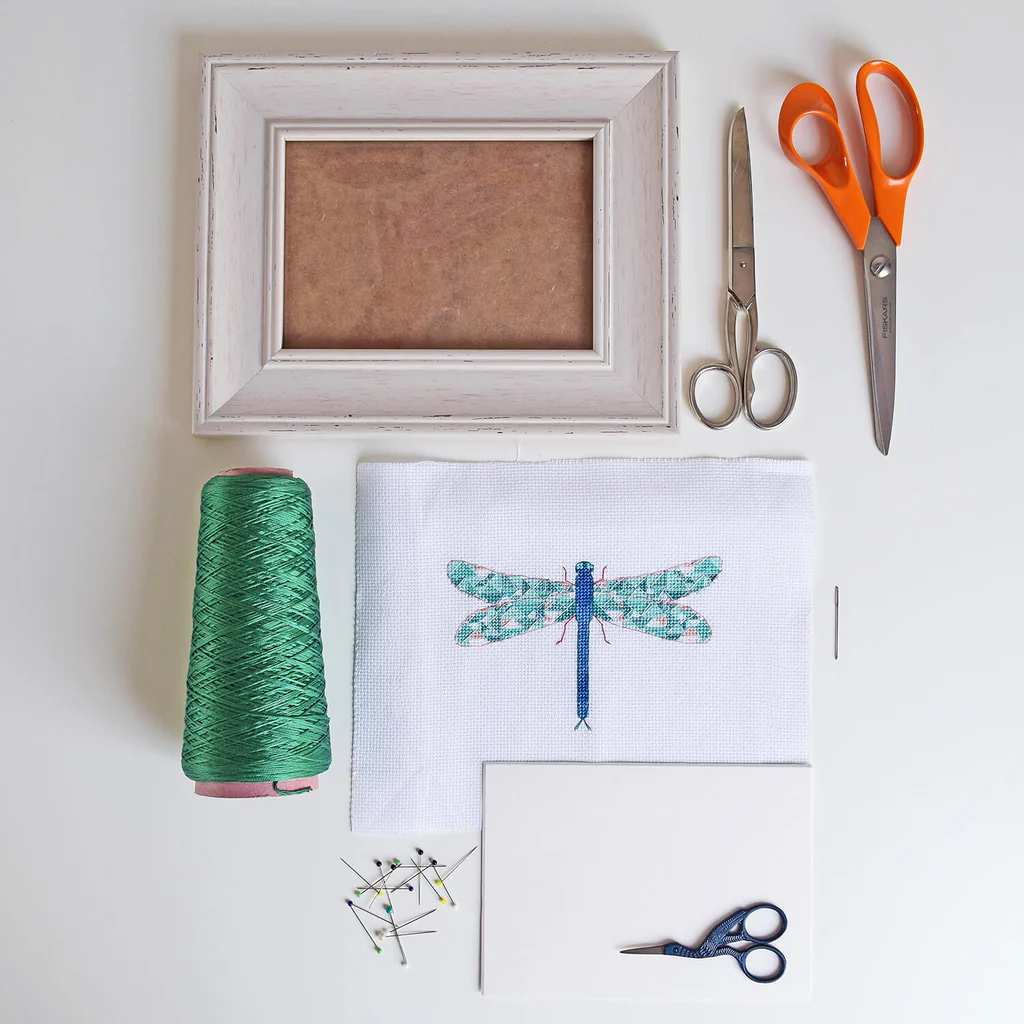
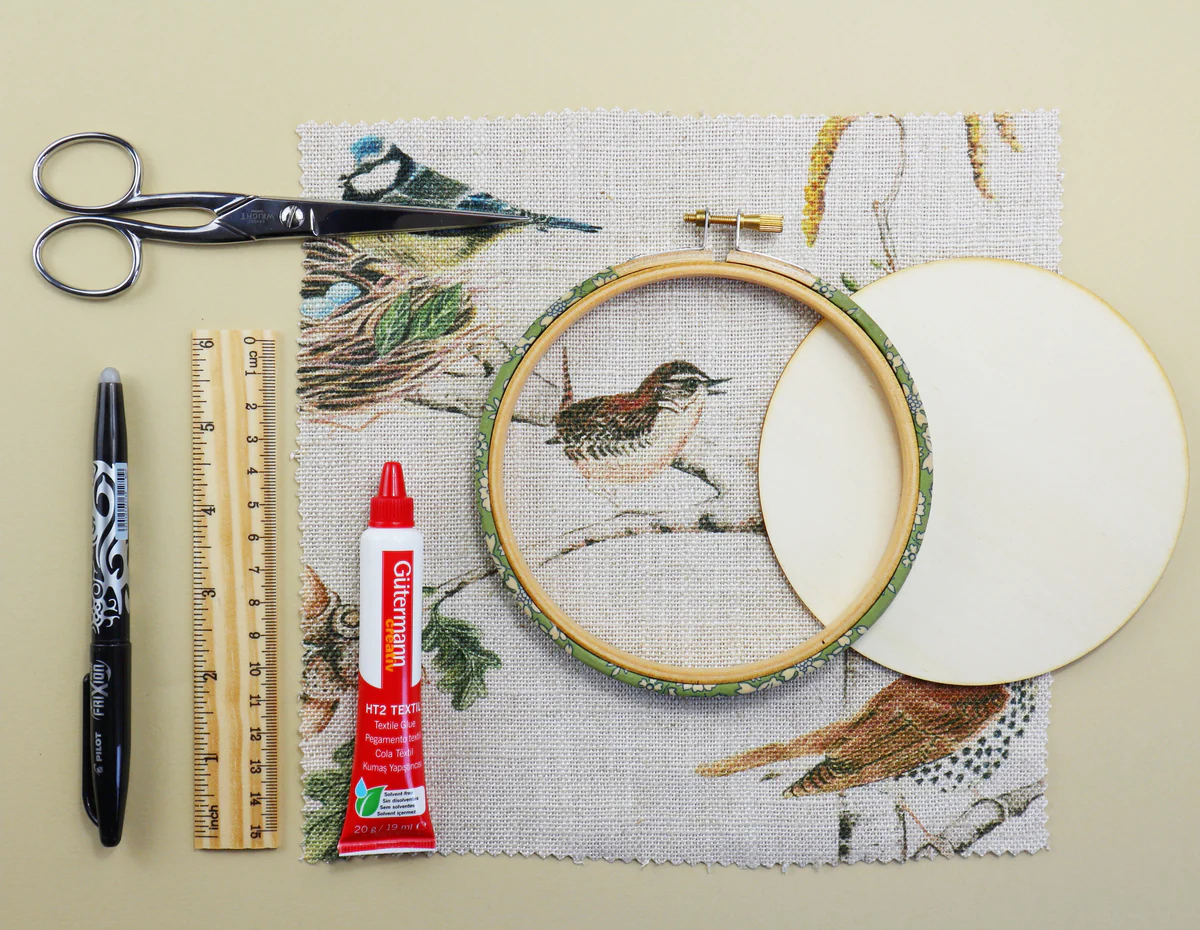
- The chosen hoop or frame
- A suitable mounting support and backing materials
- A needle, appropriate sewing thread and small scissors
- A ruler and the dimensions of the finished design
- A mat or spacers if the frame has glazing
For older, damaged or valuable work, use a textile conservator. The Canadian Conservation Institute’s framing guidance recommends stable materials and avoiding direct contact with adhesives, staples, tacks and unsealed wood.
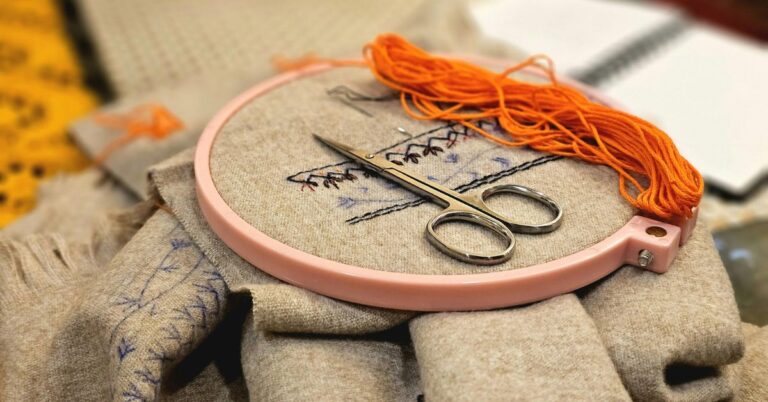
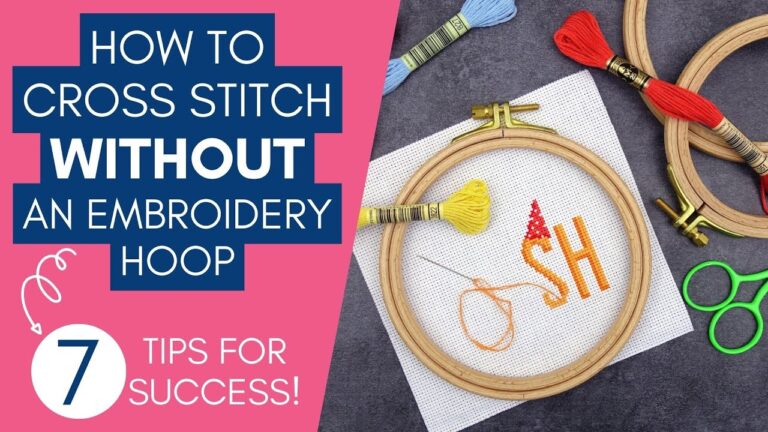
How to frame embroidery in a hoop
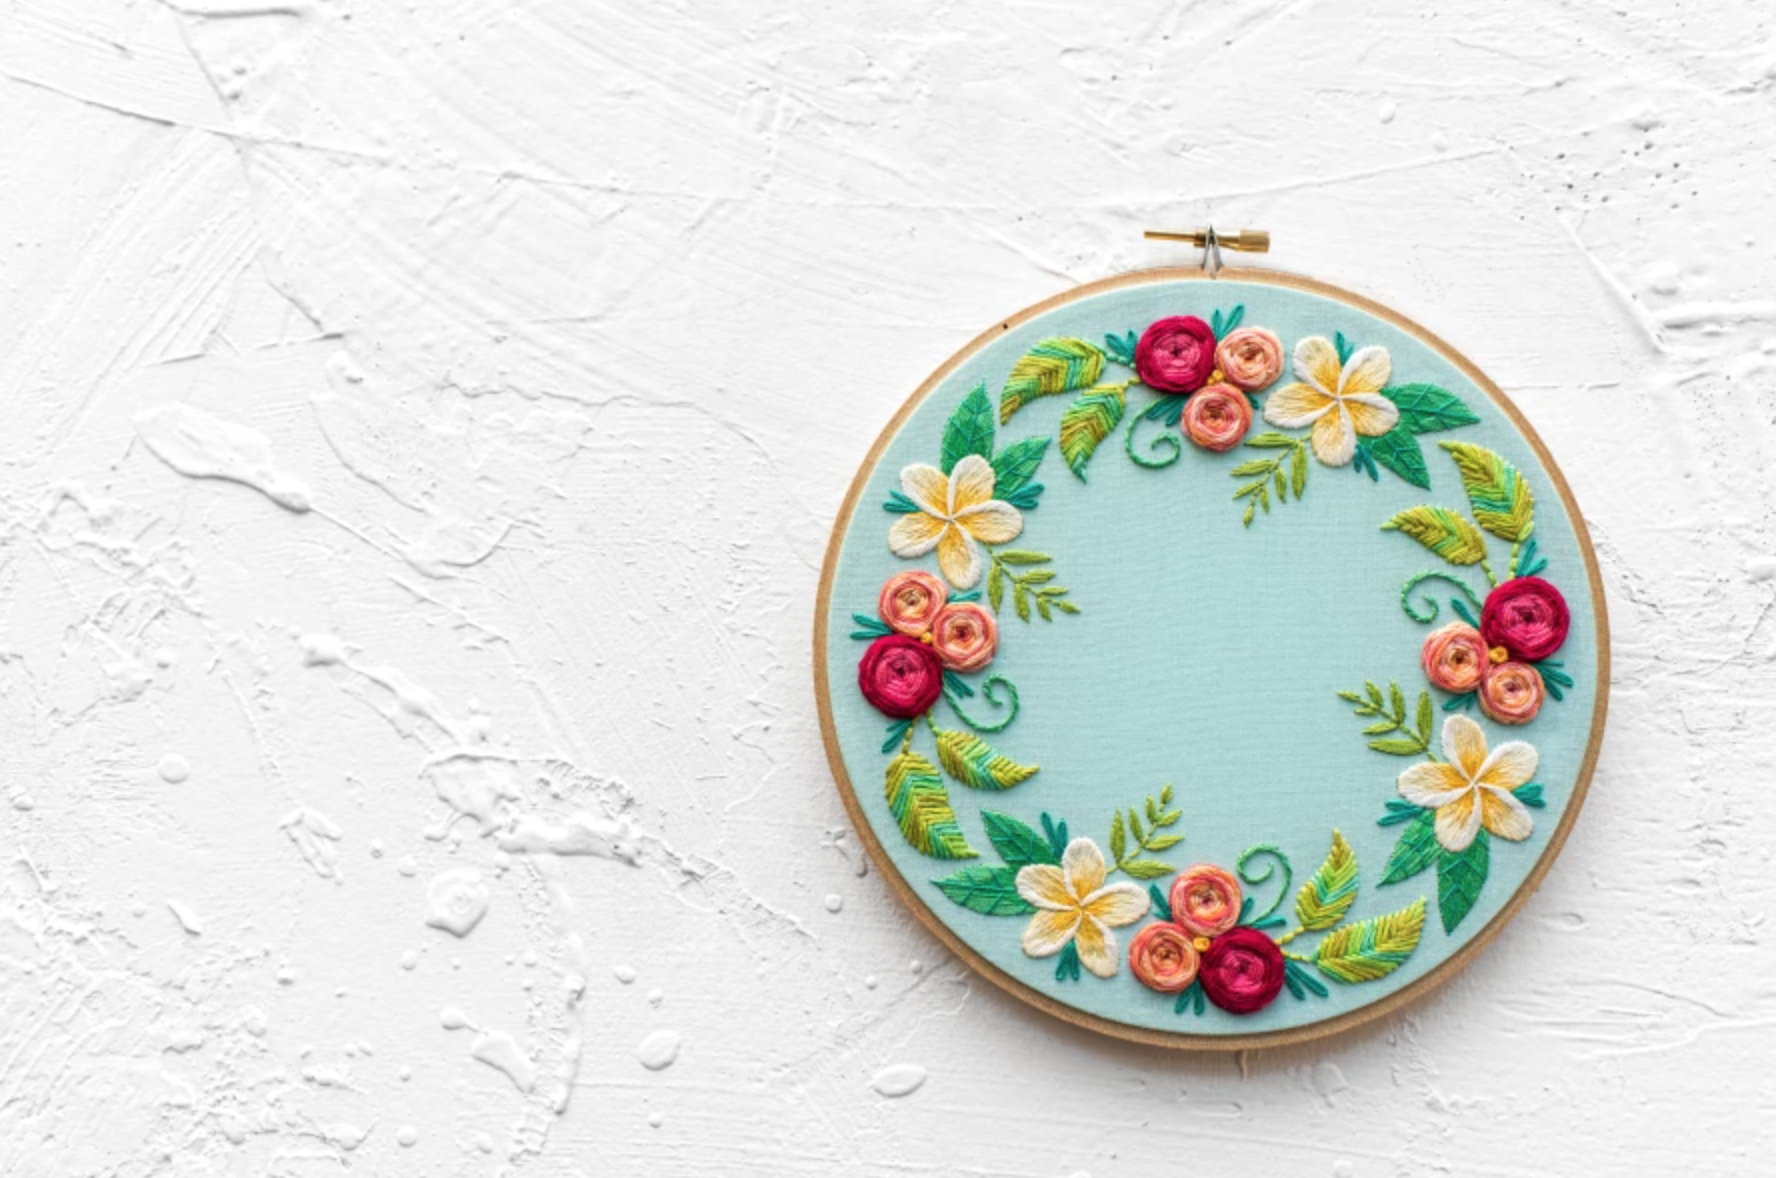
For a contemporary decorative piece, a gathered back can hold the excess fabric without glue. The running stitches can be undone if you need to adjust the finish.
- Choose and centre: use a hoop that leaves space around the design. Align the fabric and tighten gently without distorting the stitching.
- Plan the allowance: leave enough fabric to fold behind the hoop. Around an inch is a starting point for a small hoop; the fabric and hoop size affect what you need. Check before cutting.
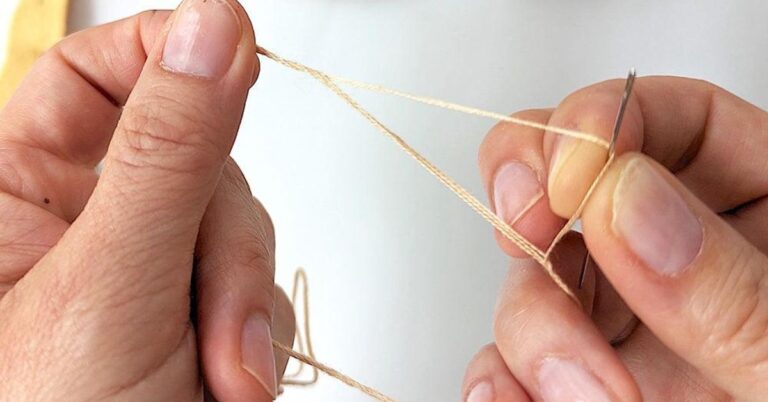
- Sew the edge: work running stitches around the excess fabric, leaving thread tails.
- Gather: pull the tails gently so the fabric folds toward the back. Recheck the front for distortion.
- Secure: tie the tails together and trim the loose thread ends.
See Hopebroidery’s running-stitch hoop-finishing tutorial for process photos. Thick fabric can be harder to gather neatly.
How to frame embroidery without a hoop
For a small, lightweight, flat textile in sound condition, one reversible option is stitching it to a fabric-covered rigid support. This is different from gluing the embroidered fabric directly onto a board.
Mounting and framing steps
- Size the support: allow a border around the piece and check the frame dimensions before mounting.
- Prepare the support: use suitable acid-free matboard covered with prepared, colourfast backing fabric.
- Position the embroidery: keep its grain aligned and handle it gently.
- Sew it in place: use fine, colourfast thread and support stitches suited to the textile’s edges and construction. Avoid pulling it into puckers.
- Check it upright: the piece should remain supported without sagging.
- Fit the frame: leave clearance between the stitches and glazing, then fit the backing and frame hardware.
This is an overview, not a method for heavy or fragile textiles. Follow the Canadian Conservation Institute’s illustrated mounting instructions for preparing the support and selecting stitches. Any adhesive used to construct that separate support must stay away from the finished embroidery and cure and off-gas completely before framing.
How to frame embroidery on canvas
First check what “canvas” means for your project. Needlepoint canvas is the material stitched into; an artist’s stretched canvas is a display support. They are not interchangeable. Our needlepoint comparison explains the ground-material difference.
If you want a wrapped, canvas-style display for a new decorative piece, plan it before trimming and ask the framer how the fabric will be supported. For preservation, use the supported mounting approach above instead of staples, glue dots or tape directly on the embroidery.
Glass, mats and raised stitches
Glazing can help protect a piece from dust, but it must not press against the stitches. Use suitable spacers or a raised mat and enough frame depth for the highest stitching. The George Washington University Museum and Textile Museum’s display guidance explains how a framed textile can be kept clear of glass or acrylic.
UV-filtering glazing reduces some light damage; it does not make direct sunlight harmless. Display the frame away from direct sun, heat sources and damp locations.
Common mistakes to avoid
- Cutting the fabric before choosing the mounting method
- Pulling the ground unevenly and distorting the design
- Choosing a shallow frame for raised stitches
- Applying glue or tape directly to a piece you want to preserve
- Assuming any board labelled “acid-free” makes the whole framing assembly suitable
Frequently asked questions
Can I put embroidery in a normal picture frame?
Yes, if it has room for the support, stitches, mat or spacers and backing. Check the depth as well as the width and height.
Should embroidery touch the glass?
For ordinary framing, leave clearance so the glazing does not flatten the stitching. Raised details may need a deeper frame.
Do I have to wash embroidery before framing?
No universal washing rule fits every piece. Follow the material and pattern instructions for a new project; seek specialist advice for old, stained or fragile work.
How much fabric should I leave around the design?
It depends on the mount and frame. Leave the fabric untrimmed until you have measured and selected the finishing method.
Display ideas and next steps
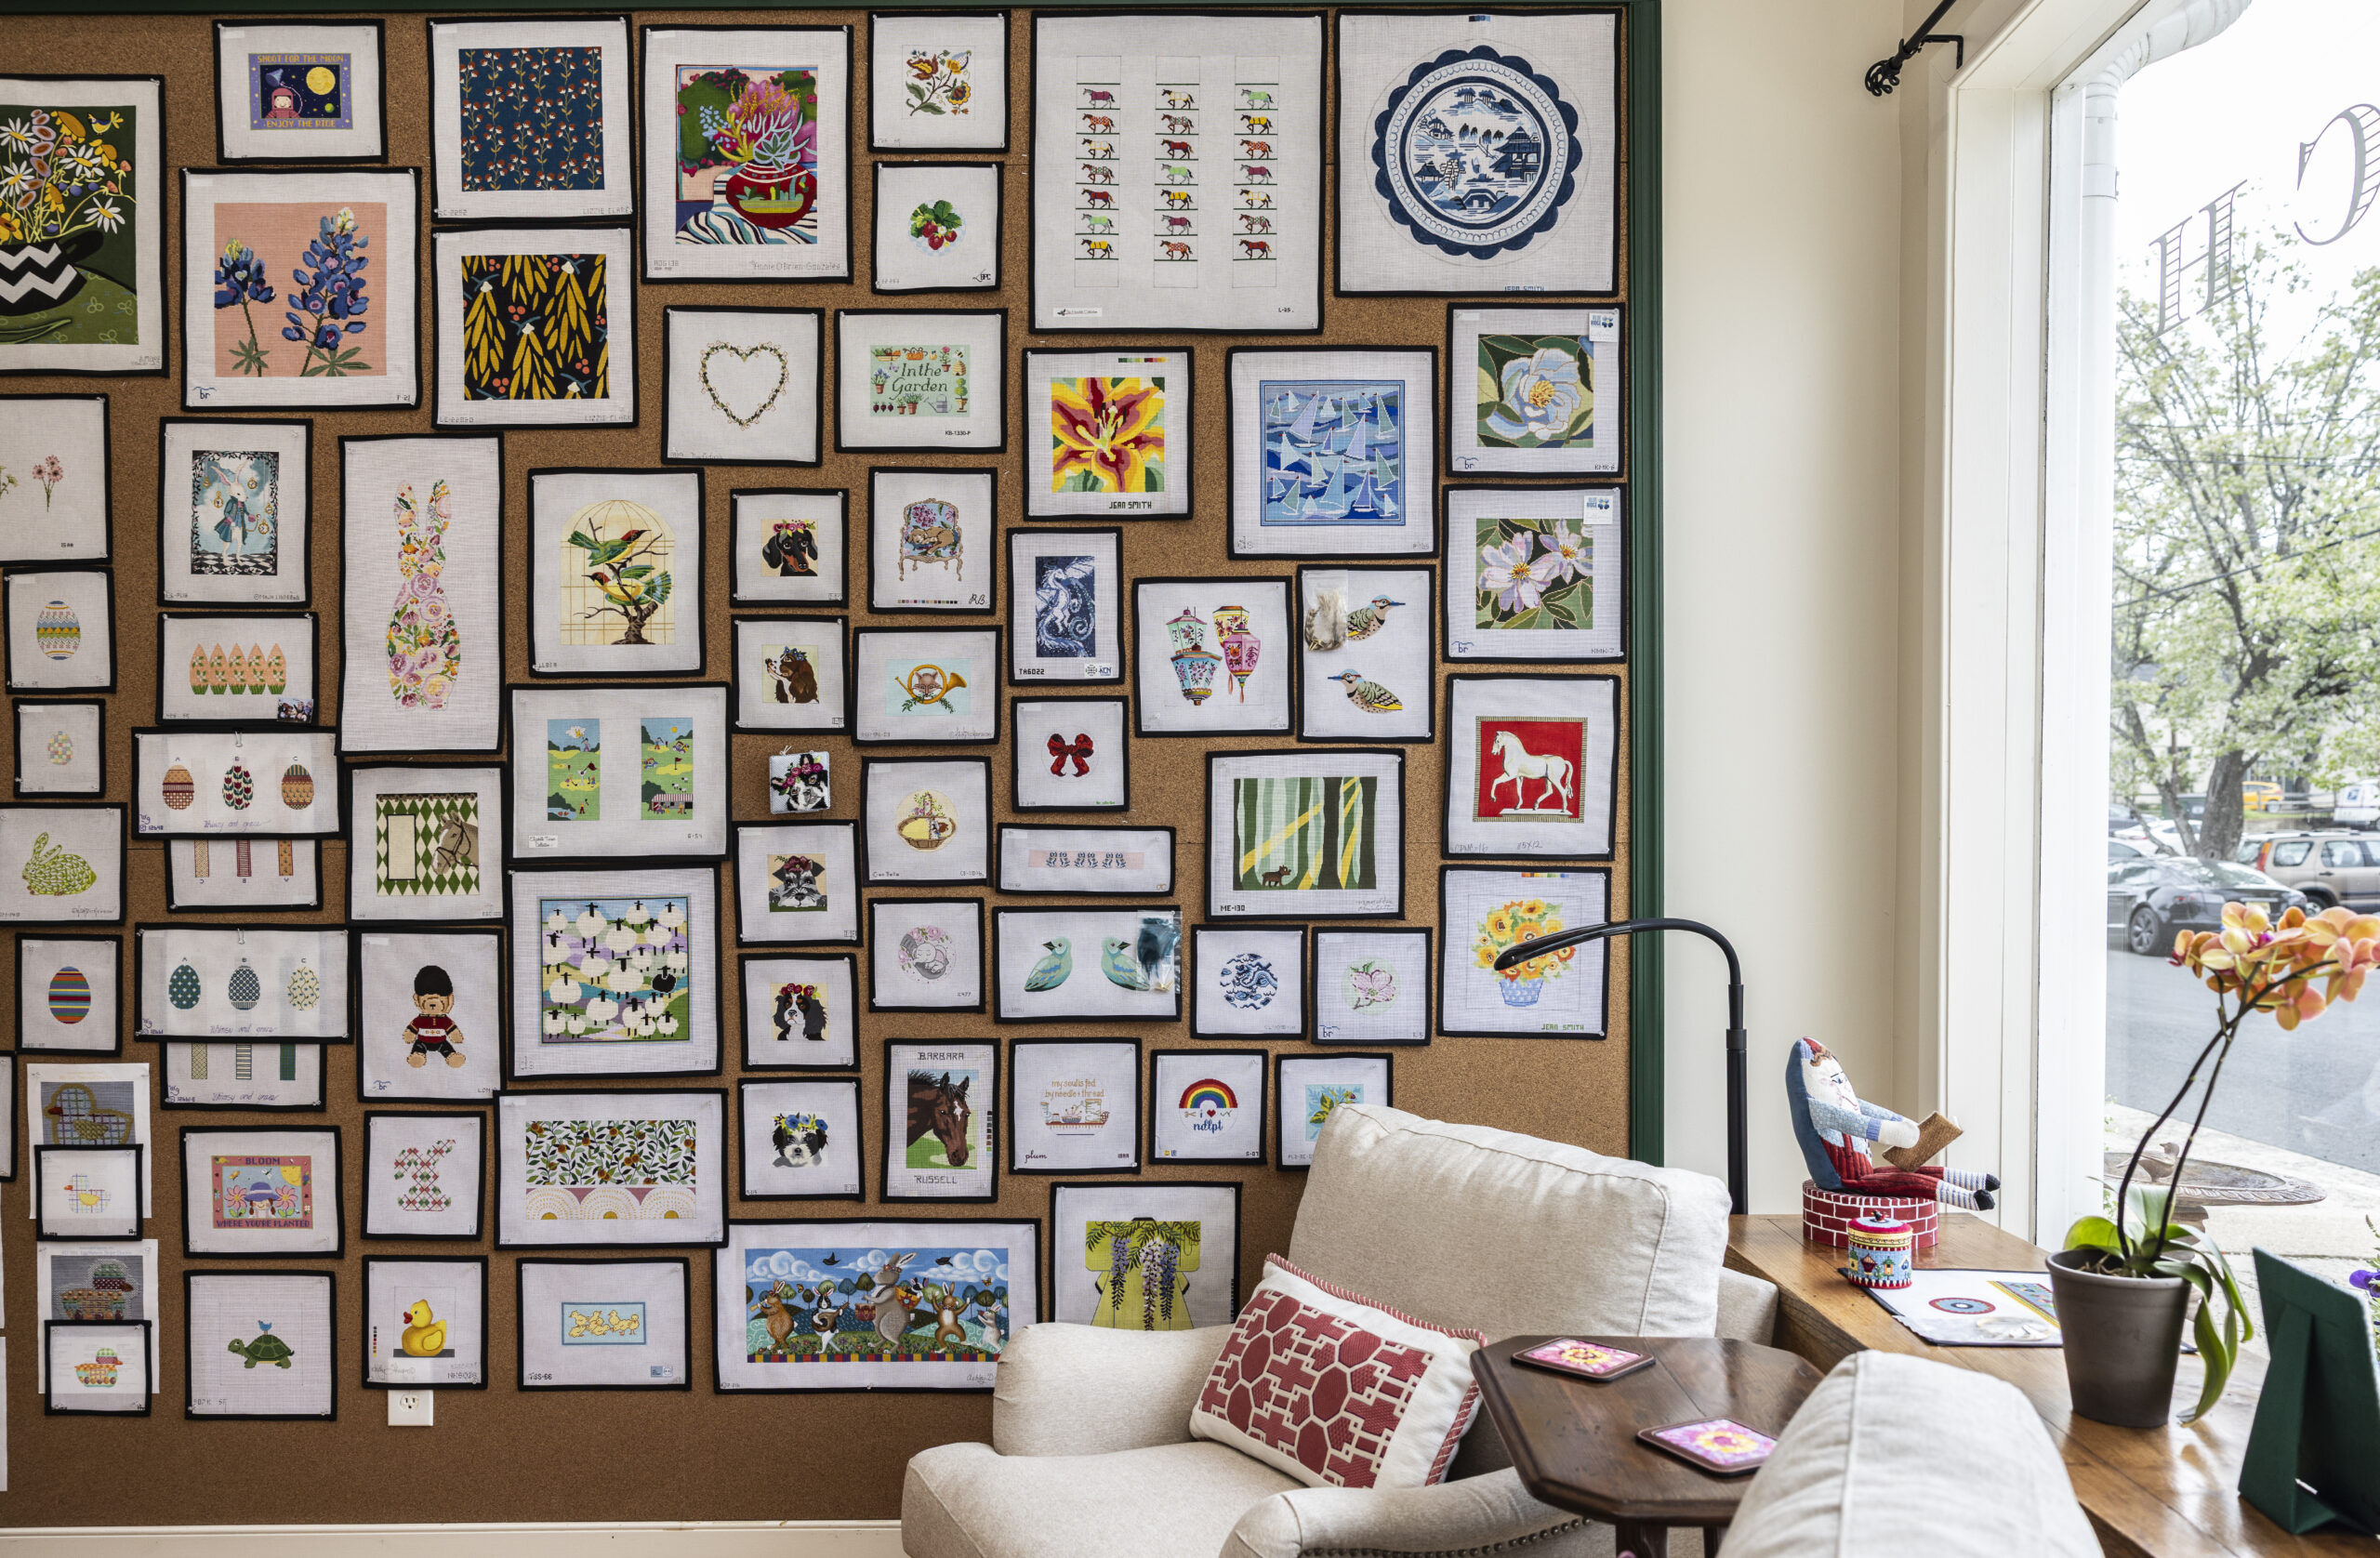
Group several small hoops, use a matching picture-frame style for a series, or choose a deep frame for dimensional work. Match the display to the actual piece rather than forcing it into a frame that is too small.
For a practice project, try our chain-stitch tutorial. To support fabric while you stitch, read the hoop alternatives guide; a working frame and a finished display frame serve different purposes. You can also browse our beginner kits and unique embroidery kits.