
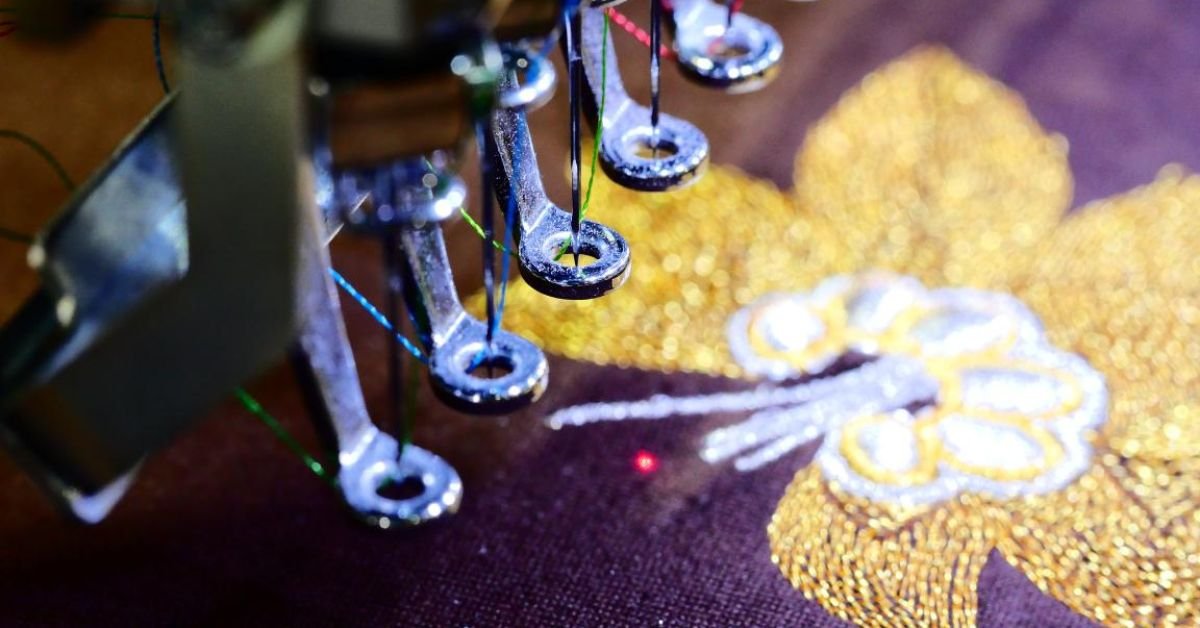
There is nothing more frustrating than watching a beautiful embroidery design develop loose stitches, visible bobbin thread, or a tangled mess underneath the fabric. You may adjust the machine, start another design, and discover that the same problem appears again. Before assuming that your embroidery machine needs expensive repairs, take a closer look at the way the thread, needle, bobbin, fabric, and stabilizer are working together.
Learning how to fix embroidery thread tension problems starts with understanding what balanced tension actually looks like. The goal is not to find one universal tension number. Instead, you want the upper thread and bobbin thread to form consistent stitches without excessive pulling, looping, puckering, or thread breaks.
Fortunately, many embroidery tension problems have simple causes. Incorrect threading, a poorly wound bobbin, a dull needle, unsuitable thread, inadequate stabilization, or an overly dense design can all create symptoms that appear to be caused by tension. Once you learn how to identify those symptoms, troubleshooting becomes much easier and much less frustrating.
What Does Correct Embroidery Thread Tension Look Like
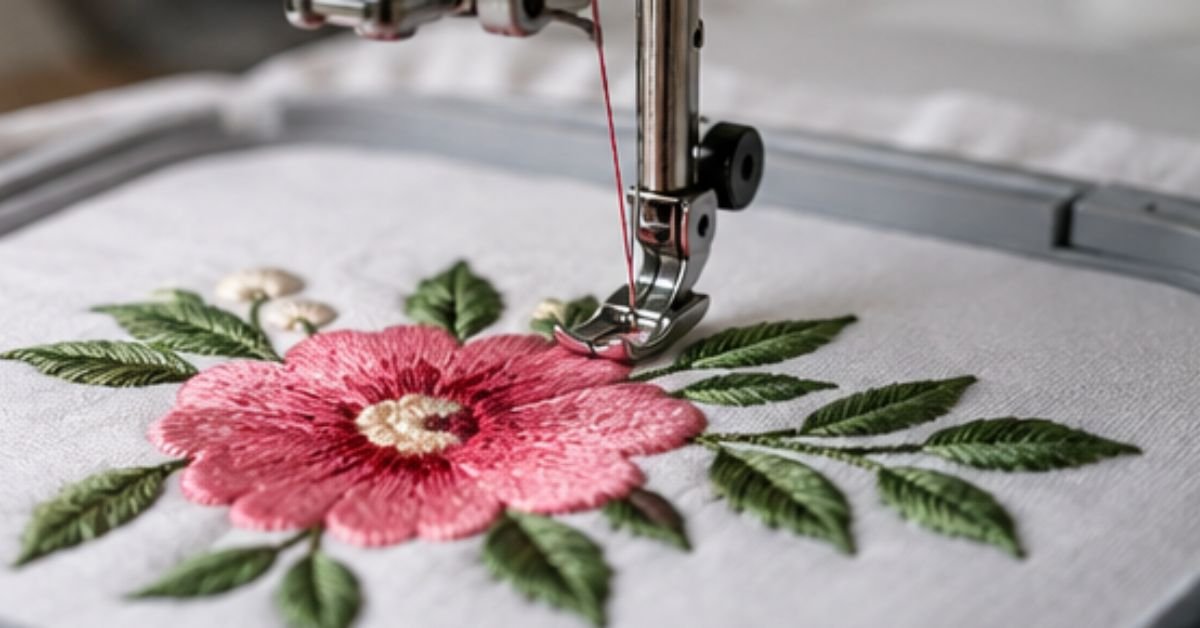
Proper embroidery thread tension allows the upper thread and bobbin thread to lock together inside the fabric without either thread pulling excessively toward the opposite side. On the front of the embroidery, the design should have smooth and consistent coverage. The stitches should sit neatly against one another without obvious loops or gaps.
The back of the design will naturally look different from the front. Seeing some bobbin thread underneath embroidery is normal, particularly around satin stitches. However, large amounts of bobbin thread appearing on the front or excessive upper thread collecting on the back can indicate an imbalance or another machine setup problem.
It is also important to remember that tension varies from one project to another. The thread you use, the fabric you’re embroidering, the stabilizer underneath it, the needle size, and even the density of the design can influence stitch formation. A setting that works beautifully for one project may not produce identical results on another.
For that reason, experienced embroiderers generally avoid chasing a specific tension number. Instead, they look at the actual stitch quality and make small adjustments when necessary.
Why Is My Embroidery Thread Tension Wrong
Embroidery tension problems can come from several different sources, which is why changing the tension dial should not always be your first step. In many cases, the tension setting is perfectly reasonable but another part of the setup is preventing the machine from forming balanced stitches.
Incorrect upper-thread threading is one of the most common causes. If the thread misses a guide, doesn’t sit properly in the tension mechanism, or fails to pass through the take-up lever correctly, the machine cannot control the thread as intended. This can result in loose stitches, loops, thread breaks, and excessive bobbin thread appearing on the surface.
The bobbin can cause similar problems. An incorrectly inserted bobbin, unevenly wound bobbin, damaged bobbin, or dirty bobbin case can interfere with smooth thread delivery. Even small amounts of lint or loose thread around the bobbin mechanism can affect stitch consistency.
Fabric movement can also create symptoms that look like tension problems. If the material isn’t properly stabilized or securely held in the hoop, the fabric can shift while the needle moves rapidly through it. The result may be puckering, distorted stitches, gaps, or poor registration.
How Do You Know If Embroidery Tension Is Too Tight or Too Loose
One of the easiest ways to troubleshoot embroidery tension is to examine both sides of the design carefully. The front and back can tell you a great deal about what is happening inside the stitch.
When too much bobbin thread becomes visible on the front of the embroidery, the upper thread may be pulling too tightly. However, don’t immediately turn the tension dial. First, check whether the upper thread is correctly threaded and seated inside the tension mechanism. A threading problem can produce exactly the same visual symptom.
If excessive upper thread is appearing on the back, the upper thread may not have enough tension. Again, check the basic setup before making adjustments. Confirm the threading, bobbin, needle, and thread path first. Once those areas are correct, make a small adjustment and run another test.
Avoid making dramatic changes. Embroidery tension can respond noticeably to even a small adjustment, so gradual testing gives you much better control.
How Do You Fix Embroidery Thread Tension Problems Step by Step
The safest way to troubleshoot embroidery tension is to work from the simplest possible cause toward the more complicated ones. This approach prevents you from changing multiple settings at the same time and makes it easier to identify what actually solved the problem.
Start by Rethreading the Upper Thread
Before touching the tension controls, completely remove the upper thread and thread the machine again. If you’re still learning proper thread handling, this guide on how to thread an embroidery needle correctly can also help you avoid common threading mistakes.
If your machine requires the presser foot to be raised during threading, make sure you follow that procedure. Raising the presser foot can allow the thread to seat correctly between the tension discs.
After threading, gently pull the thread near the needle. You should feel some resistance. If the thread moves through with almost no resistance, it may not be positioned correctly in the tension mechanism.
This simple step solves more embroidery problems than many beginners expect, which is why it should always be near the beginning of your troubleshooting process.
Check the Bobbin Carefully
If rethreading doesn’t solve the problem, inspect the bobbin and bobbin case. Confirm that the bobbin is installed in the correct direction and that the thread follows the required path through the bobbin tension area.
Look at the way the bobbin itself is wound. Loose, uneven winding can affect the consistency of the thread as it feeds through the machine. A damaged or incorrect bobbin can cause similar problems.
Clean away visible lint and thread fragments around the bobbin case according to your machine manufacturer’s maintenance instructions. Don’t assume that a bobbin is suitable simply because it physically fits inside the machine. Embroidery machines can require specific bobbin sizes and materials.
Replace the Needle
A needle may seem unrelated to tension, but it plays an important role in creating balanced embroidery stitches. A dull, bent, damaged, or unsuitable needle can cause skipped stitches, thread breaks, fraying, and inconsistent stitch formation.
If you can’t remember the last time you replaced the needle, installing a fresh embroidery needle is a sensible troubleshooting step. Choose the appropriate needle type and size for the fabric and thread you’re using.
A fresh needle can sometimes solve what initially appears to be a complicated tension problem.
Why Is My Embroidery Thread Looping Underneath
If you turn your embroidery over and discover a tangled mass of thread underneath the fabric, you are probably dealing with what embroiderers commonly call bird nesting. This problem can look severe, but the cause is often straightforward.
Start by completely removing the upper thread and threading the machine again. Don’t simply pull the thread back through the guides because you may leave the original threading problem in place.
Next, check the bobbin. Make sure it is inserted correctly and that the bobbin thread follows the correct path. Inspect the bobbin case for lint, loose thread, or visible damage.
You should also look at the fabric itself. If the material is moving inside the hoop or isn’t adequately stabilized, the machine may struggle to form consistent stitches. A simple test design on properly stabilized fabric can help you determine whether the issue comes from the machine setup or the particular project.
If the machine produces a clean test but creates bird nesting with one specific design, examine the embroidery file as well. Very dense areas or poorly digitized designs can sometimes contribute to stitching problems.
Why Is Bobbin Thread Showing on the Front
Seeing a small amount of bobbin thread on the front isn’t automatically a sign of failure. Some bobbin visibility can occur naturally, especially with dense satin stitching. The concern is when bobbin thread becomes excessive or noticeably dominates the front of the design.
Start by checking the upper-thread path. If the upper thread isn’t seated properly in the tension mechanism, it may not be able to cover the embroidery adequately.
Once you’ve confirmed that the machine is correctly threaded, inspect the needle and bobbin. If everything looks correct, make a small upper-tension adjustment and test the machine again.
Remember that the embroidery design itself matters. Dense satin columns can behave differently from lightweight fill stitches, so a tension setting should always be evaluated using the type of embroidery you actually intend to produce.
Why Is My Embroidery Puckering
Puckering is one of the most misunderstood embroidery problems because it isn’t always caused by thread tension.
Every embroidery design places stress on the fabric. A dense design can contain thousands of stitches packed into a relatively small area. Without adequate stabilization, those stitches can pull the fabric together and create wrinkles around the design.
Hooping technique also matters. The fabric should remain smooth and properly supported without being stretched excessively. Stretching fabric too tightly during hooping can create problems when the material relaxes after stitching.
If your thread looks balanced but the fabric continues to pucker, examine your stabilizer, hooping technique, fabric choice, and design density before changing the tension again.
For delicate or stretchy fabrics, choosing the appropriate stabilizer can make a significant difference. Always test the combination on a scrap piece before embroidering the final item.
Can the Wrong Needle Cause Thread Tension Problems
Yes. The wrong needle can create symptoms that closely resemble a tension problem.
A needle that is too small for the thread may struggle to carry the thread cleanly through the fabric. A dull or damaged needle can create friction and cause the thread to fray or break. A bent needle may also interfere with accurate stitch formation.
The correct needle depends on several factors, including the fabric, thread weight, embroidery design, and machine recommendations. When troubleshooting, replacing an old needle with a fresh, appropriate embroidery needle is often one of the easiest changes you can make.
It is also good practice to replace needles regularly rather than waiting until the machine develops obvious problems.
Does Embroidery Thread Quality Affect Tension
Thread quality can have a noticeable effect on embroidery performance. Different threads can vary in thickness, smoothness, strength, and surface characteristics, and those differences affect how easily the thread moves through the machine.
Polyester and rayon are common choices for machine embroidery, but they can behave differently depending on the machine and project. Some decorative or specialty threads may require different settings or slower stitching speeds.
If you’re trying to diagnose a machine problem, use a thread that you know performs reliably. Consistent thread gives you a stable starting point and makes it easier to determine whether the machine or another part of the setup is responsible for the problem.
Old or poorly stored thread can also become brittle and more likely to break. If the thread repeatedly snaps or frays even after you’ve checked the needle and threading, try a fresh spool.
How Does Stabilizer Affect Embroidery Stitch Quality
Stabilizer doesn’t directly control the machine’s thread tension, but it strongly influences the way embroidery stitches behave.
The stabilizer supports the fabric while the machine rapidly moves the needle up and down. Without sufficient support, the fabric can shift, stretch, or distort. That movement can produce puckering and uneven embroidery even when the tension is correctly adjusted.
The appropriate stabilizer depends on the fabric and design. Lightweight fabrics may need stronger support, while stretchy materials require stabilization that limits unwanted movement. Dense designs can also require more support than simple embroidery.
If the same machine produces beautiful embroidery on one fabric but poor results on another, don’t automatically change the tension. Consider whether the stabilizer and fabric combination is appropriate for the design.
What Tension Setting Should You Use for Embroidery
There is no single embroidery tension number that works perfectly for every machine and project. Each embroidery machine has its own tension system, and the ideal setting can change depending on the thread, bobbin, fabric, stabilizer, needle, and design.
Instead of focusing on a specific number, focus on stitch balance. Your upper thread should form clean, consistent stitches without excessive bobbin thread appearing on the front or large amounts of upper thread collecting underneath.
Your machine’s manual should always be the starting point for recommended settings. From there, make small adjustments based on a test sample.
This is particularly important when changing thread types or working with a fabric that behaves differently from what you normally embroider.
Should You Adjust Bobbin Tension
For most routine embroidery troubleshooting, it is better to check the upper threading and upper tension before adjusting the bobbin tension.
The bobbin mechanism is sensitive, and turning the adjustment screw without knowing the manufacturer’s recommended procedure can create additional problems. You may end up changing a setting that was already working correctly.
If you’ve checked the upper thread, needle, bobbin, stabilizer, and thread and the machine still produces inconsistent stitches, consult the manufacturer’s instructions before changing bobbin tension.
Some machines have specific procedures for balancing bobbin and upper-thread tension, so the recommended process can vary considerably between models.
How Can You Test Embroidery Tension Before Your Final Project
A test stitch-out is one of the most useful habits you can develop as an embroiderer. It allows you to identify problems before they affect an expensive garment, finished product, or difficult-to-replace piece of fabric. For another practical explanation of how to evaluate embroidery tension and troubleshoot common stitch problems, see this embroidery thread tension guide.
Use a scrap piece of the same material you plan to embroider. Ideally, use the same stabilizer, needle, bobbin, thread, design, and machine settings as the final project.
This is important because changing several variables at once makes troubleshooting much harder. If you test polyester thread on cotton and then use rayon thread on a stretchy fabric for the final project, the results may be completely different.
Examine the front and back of the test design. Look for smooth coverage, consistent stitches, reasonable bobbin visibility, and a fabric surface that remains relatively flat.
If something looks wrong, change one factor at a time and run another test. This method takes patience, but it is far more reliable than randomly adjusting several settings.
What Are the Most Common Embroidery Tension Mistakes
One of the biggest mistakes beginners make is immediately turning the tension dial when they see an imperfect stitch. Tension is important, but it is only one part of the embroidery system.
Incorrect threading, a worn needle, a poorly wound bobbin, inadequate stabilization, and fabric movement can all produce similar symptoms. If you change the tension before checking those areas, you may temporarily mask the real cause or create a second problem.
Another common mistake is changing multiple things simultaneously. If you replace the needle, thread, bobbin, stabilizer, and tension setting at the same time, you won’t know which change improved the result.
A more reliable approach is to make one change, run a test, and observe what happens. Over time, this process will make you much more confident at diagnosing embroidery problems.
When Should You Stop Adjusting the Tension
Sometimes the problem isn’t something you can solve with a tension adjustment. If you’ve carefully rethreaded the machine, checked the bobbin, replaced the needle, confirmed the stabilizer, tested suitable thread, and made reasonable tension adjustments but the machine continues producing poor stitches across different projects, the machine may require professional servicing.
Potential mechanical problems can involve the tension mechanism, bobbin case, thread path, timing, or other internal components. Continuing to adjust settings won’t necessarily solve a mechanical fault.
Before opening the machine or attempting internal repairs, consult the manufacturer’s maintenance instructions. If the problem persists, an authorized technician or experienced sewing machine professional can inspect the machine more thoroughly.
Frequently Asked Questions
What is the most common cause of embroidery tension problems?
Incorrect threading is one of the first things you should check. When the upper thread doesn’t pass correctly through the machine’s guides or tension mechanism, the machine can’t control thread delivery properly. This can lead to loose stitches, looping, thread breaks, and excessive bobbin thread visibility.
Why can I see bobbin thread on the top of my embroidery?
Excessive bobbin thread on the front can occur when the upper tension is too tight, the machine isn’t threaded correctly, or the bobbin system isn’t functioning properly. Dense embroidery designs can also make the problem more noticeable. Start with threading and machine setup before making major adjustments.
Why does my embroidery thread keep breaking?
Thread breaks can have several causes, including a damaged needle, incorrect threading, poor-quality or unsuitable thread, excessive tension, or excessive stitching speed. Check the needle and upper-thread path first, then test with a reliable embroidery thread.
Why is my embroidery looping underneath?
Looping underneath the fabric often points to incorrect upper threading or a bobbin problem. Completely rethread the machine and check the bobbin installation. If the problem continues, inspect the needle, stabilizer, and fabric movement.
Can a dull needle affect embroidery tension?
A dull or damaged needle can interfere with proper stitch formation and create symptoms that look like tension problems. Replacing the needle with the correct type and size is a simple troubleshooting step and can often improve stitch quality.
Why does my embroidery keep puckering?
Puckering can result from excessive thread tension, but insufficient stabilization, loose hooping, fabric stretch, and dense embroidery designs are also common causes. Look at the entire setup rather than assuming the tension is responsible.
Should embroidery tension be changed for every project?
Not necessarily. However, significant changes in thread, fabric, stabilizer, needle, or design density can affect stitch formation. Testing a new combination before starting the final project is always a good idea.
Is bobbin tension the same as upper-thread tension?
No. The upper thread and bobbin thread work together to form each stitch, but they are controlled by separate parts of the machine. For most everyday troubleshooting, start with the upper threading and upper tension before changing the bobbin mechanism.
Final Thoughts
Knowing how to fix embroidery thread tension problems is less about finding a magic tension setting and more about understanding how your entire embroidery setup works.
When stitches look wrong, start with the basics. Rethread the machine carefully, inspect the bobbin, replace the needle if necessary, check the thread, and make sure the fabric has adequate stabilization. Once those areas are correct, make small tension adjustments and test the result.
Most importantly, resist the temptation to change everything at once. One small adjustment followed by a test stitch can tell you far more than repeatedly turning the tension dial.
With practice, you’ll begin recognizing the difference between a true tension problem and an issue caused by threading, needles, bobbins, stabilization, fabric movement, or design density. That knowledge can save thread, fabric, time, and frustration while helping you produce cleaner, more professional-looking embroidery.