
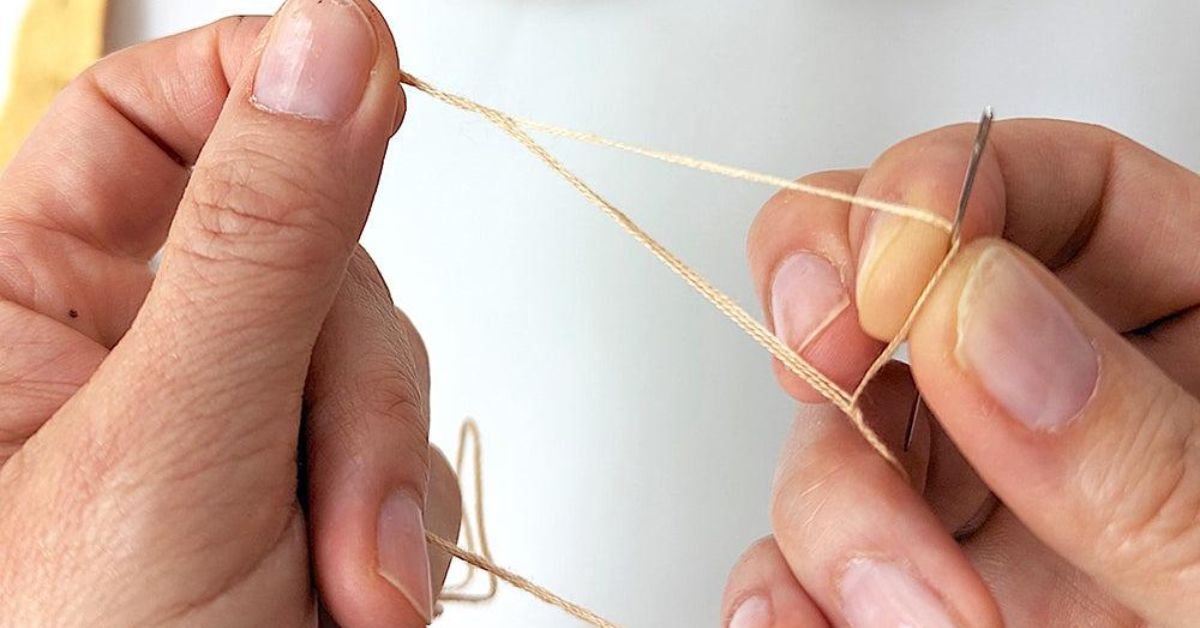
You thread your needle, stitch a few neat petals, and then it happens. A tiny twist becomes a loop, the loop becomes a knot, and your relaxing evening turns into a wrestling match with floss.
Every stitcher hits this wall, from first-timers to seasoned pros. The good news is that tangles follow predictable patterns, so you can prevent most of them. This guide shows you how to stop embroidery thread from tangling with simple habits, smarter tool choices, and a few small changes to how you prepare your floss.
By the end, you’ll know why thread twists, which fixes work best for each thread type, and how to rescue a knot that has already formed.
Why Does Embroidery Thread Tangle in the First Place
Manufacturers twist each strand during production, then twist the strands together to create six-strand floss. Each time you pull the thread through fabric, you add a little more twist. Eventually the thread coils on itself, forms a loop, and locks into a knot.
Several common habits speed this process up:
- Cutting thread too long
- Pulling all six strands out of the skein together
- Using a needle with an eye that is too small
- Stitching in the same direction with the same hand for hours
- Snagging fibers on dry skin or rough nails
Static and humidity also play a part, especially with silk, rayon, and metallic threads. Once you understand the cause, each fix below makes more sense.
Fix 1: How Long Should Embroidery Thread Be?
Long thread looks efficient, but it tangles far more often. Aim for a length between your fingertips and your elbow, roughly 18 to 24 inches. That length gives you plenty of stitching time while keeping twist under control.
Slippery or delicate threads need even shorter pieces. Metallic and rayon threads work best at around 12 to 15 inches, because they fray and coil quickly.
Yes, you will re-thread your needle more often. However, a 10-second re-thread beats a 10-minute untangling session every time.
Fix 2: How Do You Separate Embroidery Floss Without Knots?
Most tangles begin before the first stitch. Pulling two strands out of a six-strand bundle while the rest stay clamped together creates instant chaos.
Instead, separate one strand at a time. Hold the cut length near the top, pinch a single strand, and slide it upward and out while the others relax. Repeat until you have the number of strands your pattern calls for, then realign them and smooth them flat between your fingers.
This method releases the manufacturing twist and lets the strands lie together evenly. The team at Embellished Elephant explains the same principle in their tips to avoid thread tangles in embroidery, and it matches what most experienced stitchers recommend.
Fix 3: Should You Let Your Needle Dangle?
Absolutely. This is the oldest trick in the hoop, and it works because gravity does the untwisting for you.
Every 5 to 10 stitches, stop and let your needle and thread hang freely from the fabric. Watch the thread spin until it settles. Then pick up your needle and continue.
If you dislike dropping your needle, try a gentler alternative. Hold the loose thread end, slide the needle down toward the fabric, and run the thread between your finger and thumb to smooth out the twist. Either method resets the thread before a knot can form.
Fix 4: What Needle Size Prevents Thread Tangling?
A mismatched needle creates friction, and friction creates fuzz, splits, and snarls. If the eye is too small, the thread crimps and frays as it passes through. If it’s too large, the needle leaves oversized holes and the thread slips around loosely.
As a rough guide, embroidery needles in size 3 or 4 suit four to six strands. Sizes 5 and 6 handle three strands comfortably, while sizes 7 to 9 suit one or two. Always check the packaging, since brands vary slightly.
Also, replace bent or burred needles. A damaged needle snags fibers, and you won’t notice until the thread starts to shred.
Fix 5: Thread Conditioner vs. Beeswax vs. Dryer Sheets — Which Works Best?
Conditioning smooths fibers, reduces static, and helps thread glide through fabric. Three options dominate, and each has a different sweet spot.
Thread conditioner works best for metallic, rayon, and silk threads. It coats fibers lightly without heavy residue, and a small tin lasts through many projects. Expect to pay a few dollars.
Beeswax costs the least and suits cotton and linen threads. Light-colored floss can pick up a slight tint or a waxy feel, so test on a scrap first.
Dryer sheets are the budget hack. Running thread through a sheet reduces static, but the effect fades quickly and it does little for twist.
For everyday cotton floss, you often don’t need any conditioner at all. Save it for slippery threads or long stitching sessions.
Fix 6: How Does Stitch Tension Affect Tangling?
Yanking thread through fabric adds twist fast. Instead, pull smoothly and steadily in the direction you’re stitching, and keep the thread relaxed as it travels through the fabric.
Hoop tension matters too. A hoop that is too loose lets fabric shift, which forces you to tug and re-angle the needle. A hoop that is too tight can distort stitches and stress the thread.
Textured stitches need extra care. French knots, for example, add wraps that can collapse into tiny tangles if tension slips. Our guide on how to do a French knot in embroidery walks through the wrap-and-pull rhythm that keeps those loops neat.
Fix 7: How Should You Store Embroidery Floss?
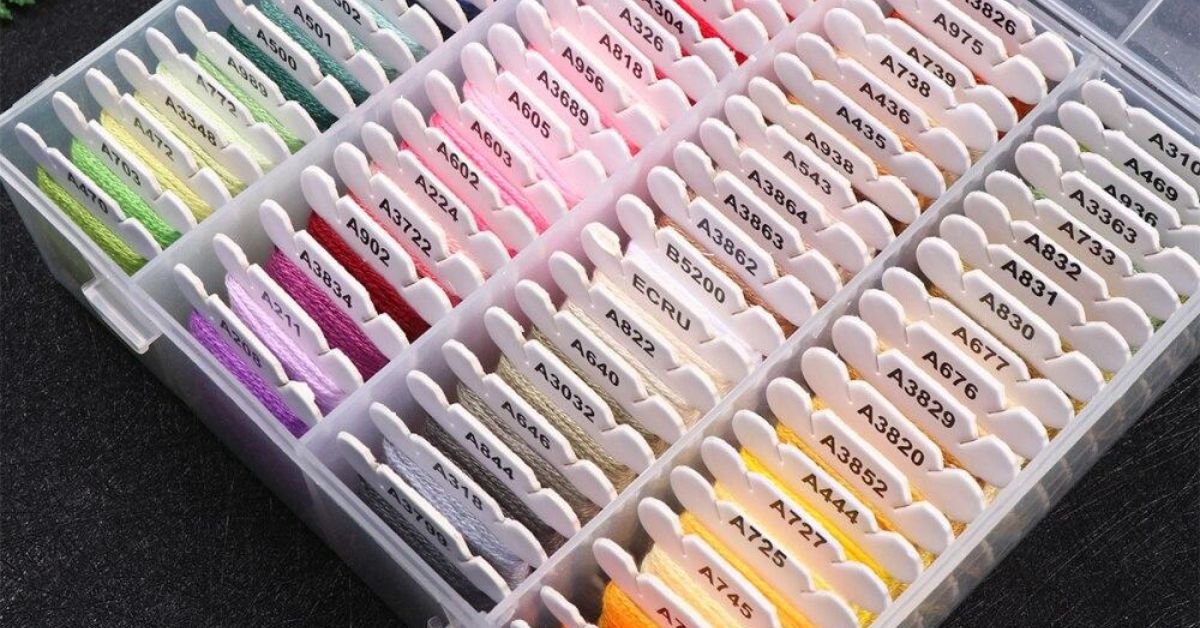
Loose skeins in a project bag are tangle magnets. Winding your floss onto bobbins takes a little time upfront, but it saves hours of frustration later.
Try these storage habits:
- Wind floss onto paper or plastic bobbins and label each with its color number
- Keep bobbins in a divided box or on a ring
- Store thread away from direct sunlight and damp spaces
- Tuck loose ends under the bobbin edge so they can’t wander
If you work from a kit, check how the thread arrives. Many beginner sets pre-sort thread by color, which cuts down on early mix-ups.
Fix 8: Which Embroidery Threads Tangle the Most?
Not all threads behave the same way, so a smart comparison helps you choose the right approach.
Cotton stranded floss is the most forgiving. It grips fabric, resists static, and responds well to strand separation and shorter lengths.
Silk floss feels luxurious but slips easily and snags on rough skin. Shorter pieces and moisturized hands make a big difference.
Rayon and polyester threads shine beautifully, yet they develop static and slide out of alignment. A dab of conditioner helps here.
Metallic threads twist, fray, and kink faster than any other type. Use a larger needle eye, cut short lengths, and stitch slowly.
Perle cotton comes as a twisted single thread, so it resists splitting. However, it can kink if you let it spin, so dangle it regularly.
Fix 9: Can Your Hands and Workspace Cause Tangles?
They can, and this fix gets overlooked constantly. Dry skin and ragged nails catch fibers and pull them out of alignment. A quick swipe of hand cream, then a few minutes to let it absorb, keeps your fingers smooth. Trim or file any rough edges before you start.
Lighting and posture matter as well. When you squint, you rush, and rushing produces sloppy tension and missed loops. Good light lets you spot a forming twist early.
Some stitchers also find that switching hands occasionally reduces one-directional twist. If you use a frame or a stand, try it and see whether your thread behaves differently.
How Do You Untangle Embroidery Thread Without Ruining It?
Even careful stitchers get the occasional knot. When it happens, resist the urge to pull, because tugging tightens the snarl.
- Stop stitching and let go of your needle so the thread hangs freely.
- Loosen the knot gently by pushing the fabric toward it rather than pulling the thread away.
- Insert the needle tip into the loop and tease it open, working from the outside in.
- Pull the working thread back through slowly once the loop widens.
- Cut and re-thread if the fibers look fuzzy or thin. A fresh length beats a damaged one.
Take a deep breath, too. Calm hands untangle faster than frustrated ones.
What Does a Tangle-Free Toolkit Cost?
Preventing tangles doesn’t require an expensive setup. Prices vary by store and region, but a basic toolkit typically stays modest:
- A pack of assorted embroidery needles usually costs a few dollars
- Floss bobbins run a few dollars per pack
- A tin of thread conditioner or a block of beeswax costs a few dollars and lasts a long time
- A needle threader costs about a dollar or two
In total, most stitchers can build a complete anti-tangle kit for roughly $10 to $20. Considering the time you’ll save, that’s one of the best small investments in the hobby.
Frequently Asked Questions
Why does my embroidery thread knot at the back of the fabric?
Back-of-fabric knots usually come from twisted thread, long lengths, or loose tension on the reverse side. Let your thread untwist regularly and keep the tail on the back tidy so it can’t loop around your stitches.
Should I use beeswax on all embroidery floss?
No. Cotton floss rarely needs it. Reserve beeswax or conditioner for metallic, silk, rayon, or very long stitching sessions.
How many strands should I use to reduce tangling?
Fewer strands tangle less. Two or three strands move more smoothly through fabric than six, so choose the strand count your design needs and no more.
Does a bigger needle help prevent tangles?
Often, yes. A needle with a slightly larger eye reduces friction and fraying, especially with multiple strands or delicate threads.
Do beginner embroidery kits help prevent tangles?
They can. Kits that include pre-sorted, quality thread and clear instructions remove several common problems, so new stitchers can focus on technique rather than troubleshooting.
Final Thoughts
Learning how to stop embroidery thread from tangling comes down to a few consistent habits. Cut shorter lengths, separate strands one at a time, let your thread untwist, and match your needle and thread to the project. Add smart storage and smooth tension, and most knots simply disappear.
Start with one or two fixes tonight and add more as they become second nature. Before long, you’ll spend less time wrestling floss and more time watching your design bloom, one clean stitch at a time.